Groups relate together individual members and provide a scalable way to assign access to and permissions for specific collections. When onboarding new members, add them to a group to have them automatically inherit that group's configured permissions.
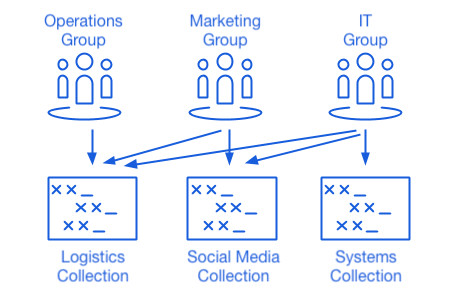
Organizations can designate access to collections based on member groups, rather than individual members. Group-collection associations provide a deep level of access control and scalability to sharing resources. One common group-collection methodology is to create Groups by Department and Collections by Function, for example:
Other common methodologies include Collections by Vendor or System (for example, members in an Engineering group are assigned to a AWS Credentials collection) and Groups by Locality (for example, members are assigned to a US Employees group or UK Employees group).
The External Id field is only relevant if you are using Directory Connector and will be visible in the dialogue when configured using SCIM, Directory Connector, or the API.
On the Members tab, assign members to the group.
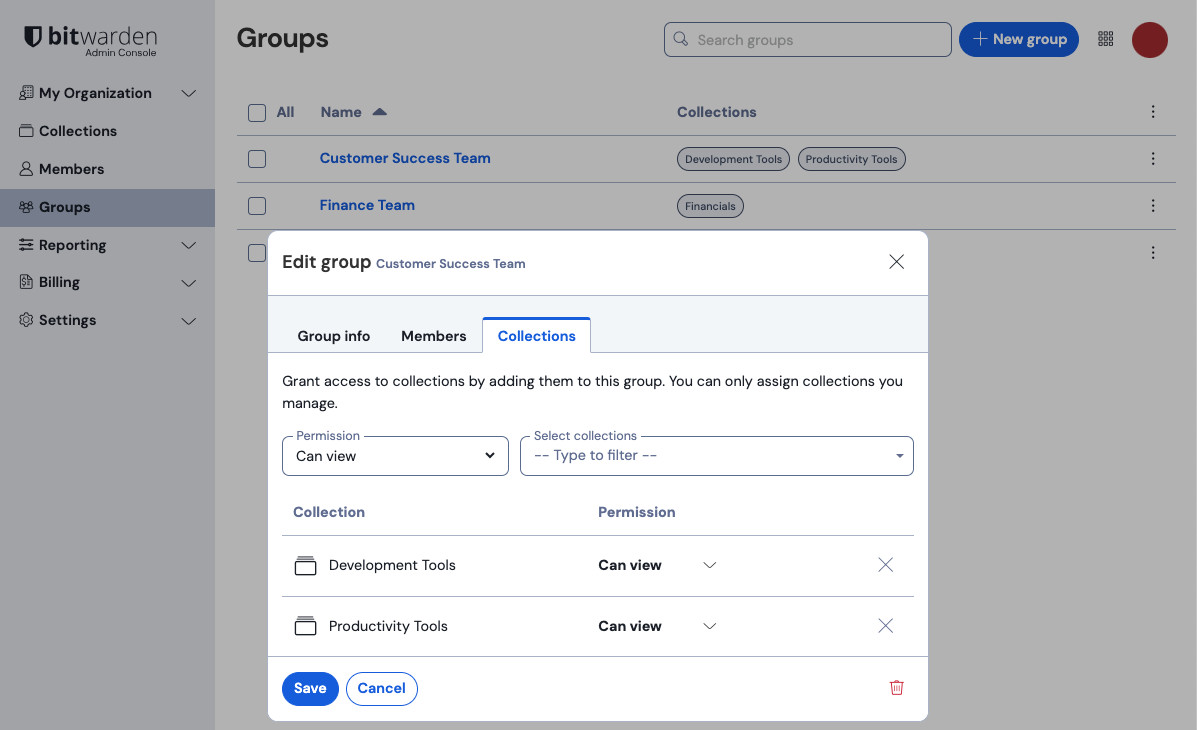
On the Collections tab, assign collections to group. For each collection, select the desired permissions:
Permissions can designate that members can either view-only or edit items in the collection, as well as whether they can manage access to the collection and whether passwords are hidden.
Once your groups are created and configured, add members to them:
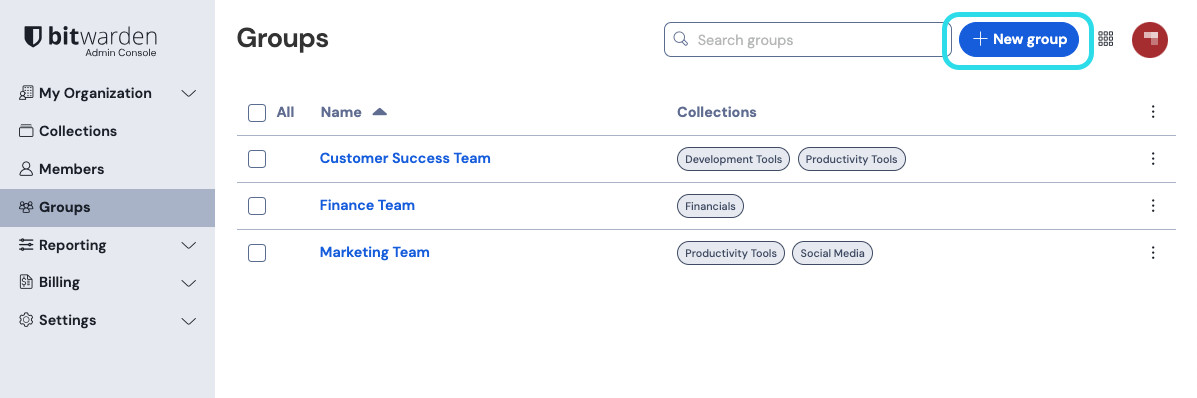
In the Admin console, open the Groups view.
For the group you want to edit, use the options menu to select Members.
Add or remove members from the group and select Save
note
If the Owners and admins can manage all collections and items option is disabled, administrators are unable to add themselves to a group. However, they can add other administrators to a group. See Collection management settings for more information.