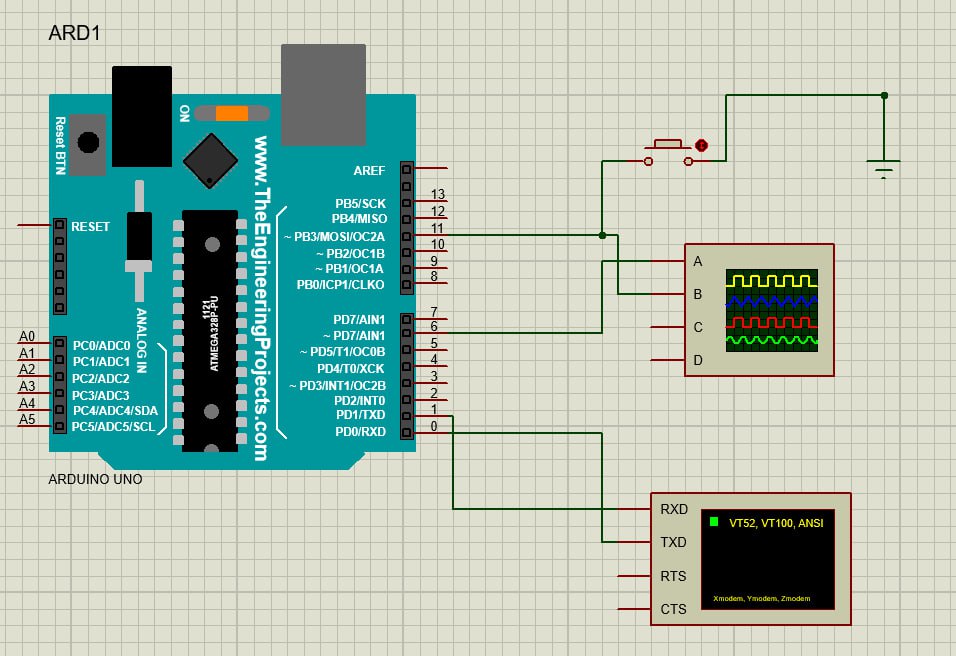
Implement interrupt processing when the button is pressed, and the very start on the rising edge, the interrupt pin and to which the button is connected 11. Why does the interrupt not work after pressing the button?
#include <PinChangeInterrupt.h>
const uint8_t buttonPin = 11;
volatile bool buttonPressed = false;
void setup() {
 pinMode(buttonPin, INPUT_PULLUP);
 attachPCINT(buttonPin, buttonISR, RISING);
 Serial.begin(9600);
}
void loop() {
 if (buttonPressed) {
 Serial.println("Button pressed!");
 buttonPressed = false;
 }
}
void buttonISR() {
 buttonPressed = true;
}
Model: enter image description here
1 Answer 1
I just tested proper code with some changes:
#include <PinChangeInterrupt.h>
const uint8_t buttonPin = 11;
volatile bool buttonPressed = false;
void buttonISR() {
 buttonPressed = true;
}
void loop() {
 if (buttonPressed) {
 delay(20);
 buttonPressed = false;
 digitalWrite(LED_BUILTIN, !digitalRead(LED_BUILTIN));
 }
}
void setup() {
 pinMode(buttonPin, INPUT_PULLUP);
 attachPCINT(digitalPinToPCINT(buttonPin), buttonISR, RISING);
 pinMode(LED_BUILTIN, OUTPUT);
}
And with attachPCINT(digitalPinToPCINT(buttonPin), buttonISR, RISING); it works flawlessly. Only difference is that digitalPinToPCINT (as every example for PinChangeInterrupt library tries to suggest).
You also tried attachInterrupt + digitalPinToInterrupt with the pin 11, but Arduino Uno has only two external interrupt capable pins D2 and D3. So it couldn't work with D11. It also depends on MCU (see attachInterrupt() reference).
The PCINT is more or less related to the old AVRs like Atmega328 or Atmega2560. And PCINT in Atmega2560 isn't available on all port (it uses ISR per port and it has many ports.
If the proteus simulator is the cause, you can also ommit the ISR (as you are not doing anything big here) and just poll the pin:
const uint8_t buttonPin = 11;
bool buttonPressed = false;
void loop() {
 bool pinHigh = (digitalRead(buttonPin) == HIGH);
 if (pinHigh && buttonPressed) { // button released
 delay(20);
 buttonPressed = false;
 digitalWrite(LED_BUILTIN, !digitalRead(LED_BUILTIN));
 } else if (!pinHigh && !buttonPressed) {
 buttonPressed = true;
 }
}
void setup() {
 pinMode(buttonPin, INPUT_PULLUP);
 pinMode(LED_BUILTIN, OUTPUT);
}
-
Just to amplify on this,
digitalPinToInterruptis for pins D2 and D3 on the Uno (this function returns 0 or 1 respectively) when used withattachInterrupt, howeverdigitalPinToPCINTis for the Pin Change interrupts, which the OP is using.2023年04月22日 05:15:15 +00:00Commented Apr 22, 2023 at 5:15 -
Why doesn't work for me, I use arduino unoGood York– Good York2023年04月22日 06:25:00 +00:00Commented Apr 22, 2023 at 6:25
-
@GoodYork you have to change:
attachPCINT(buttonPin, buttonISR, RISING);toattachPCINT(digitalPinToPCINT(buttonPin), buttonISR, RISING);or just try to use my code (It's toggling onboard LED - it has really simple debouncing too)KIIV– KIIV2023年04月22日 06:28:25 +00:00Commented Apr 22, 2023 at 6:28 -
1I only have the model that is already attached to the question - if you have an emulator then you don't even have that. I read the question and saw that you claimed you were using an Arduino Uno.2023年04月22日 06:45:28 +00:00Commented Apr 22, 2023 at 6:45
-
1@KIIV the task is as follows: The button must be connected to the corresponding pin interrupt PCINT3 - they have a task, which is to use PCINT3. The task isn't to solve any real-world problem.2023年04月22日 10:36:01 +00:00Commented Apr 22, 2023 at 10:36
attachInterrupt(digitalPinToInterrupt(buttonPin), buttonISR, FALLING)also does not work