If you need to convert an image from one format to another you can use GIMP to do so, but there is an easier way. You can use ImageMagick, which provides a way to convert images using the command line.
Installing ImageMagick
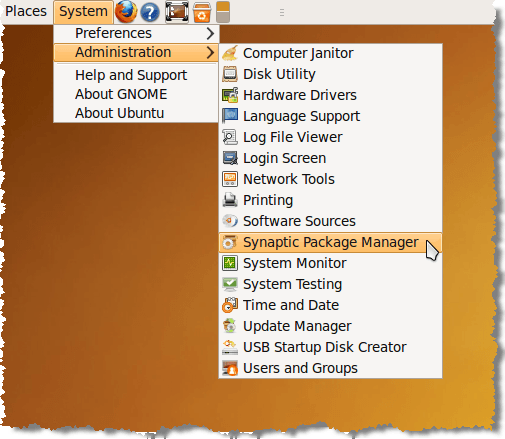
ImageMagick may already be installed. You can check in the Synaptic Package Manager. Select Administration | Synaptic Package Manager from the System menu.
Accessing the Synaptic Package ManagerAccessing the Synaptic Package Manager
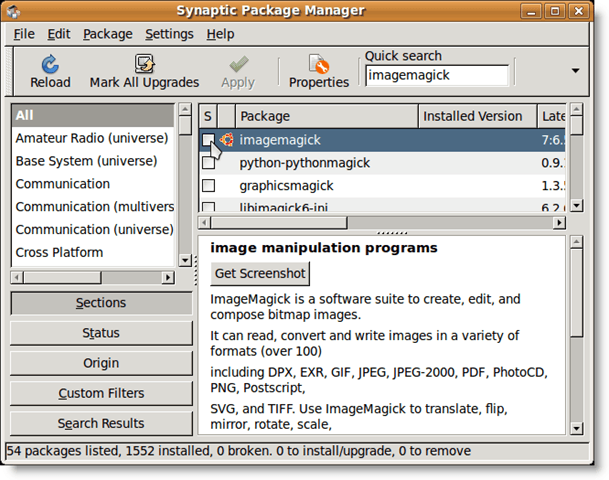
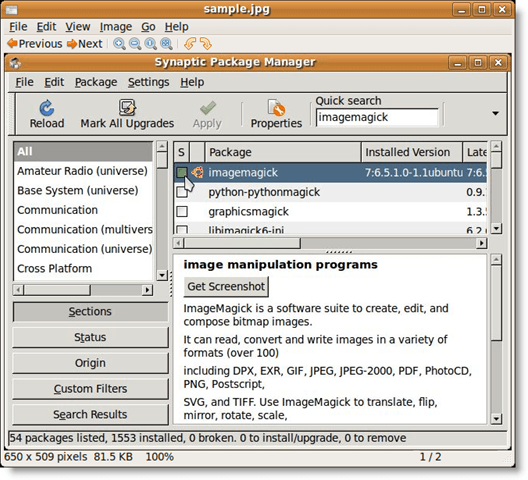
In the Quick search edit box on the Synaptic Package Manager window, enter imagemagick. The results of the search start to display as you type your search term. If ImageMagick is already installed, the check box next to the program name will be filled in green, and you can skip to the Converting an Image Using ImageMagick section below.
Searching for ImageMagickSearching for ImageMagick
If ImageMagick is not already installed, click on the check box to open a pop-up menu. Select the Mark for Installation option from the menu.
Marking ImageMagick for installationMarking ImageMagick for installation
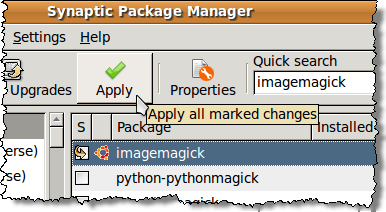
A yellow arrow displays over the check box next to imagemagick, indicating it is marked for installation. Click the Apply button to continue with the installation.
Apply all marked changesApply all marked changes
A Summary screen displays listing all the changes that will be made. Click the Apply button.
Summary of the changes to be appliedSummary of the changes to be applied
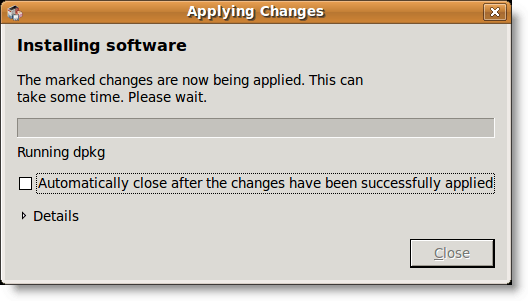
The installation progress displays.
Applying changesApplying changes
The Changes applied dialog box displays when the installation is finished. Click the Close button.
Changes appliedChanges applied
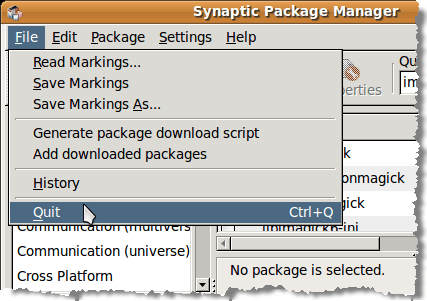
Select Quit from the File menu to close the Synaptic Package Manager.
Closing the Synaptic Package ManagerClosing the Synaptic Package Manager
Converting an Image Using ImageMagick
Once ImageMagick is installed, simply use the convert command in a terminal window. For example, the following command will convert a PNG file to a JPEG file.
$ convert sample.png sample.jpg
However, converting an image into a JPEG sacrifices image quality for file size. There is a command switch, –quality, that allows you to specify the quality of the resulting .jpg file. You can set a value between 0 (poorest quality) to 100 (highest quality). Remember that the better the quality (the higher the number), the bigger the file size. Generally, a value between 60 and 80 is good enough for most uses.
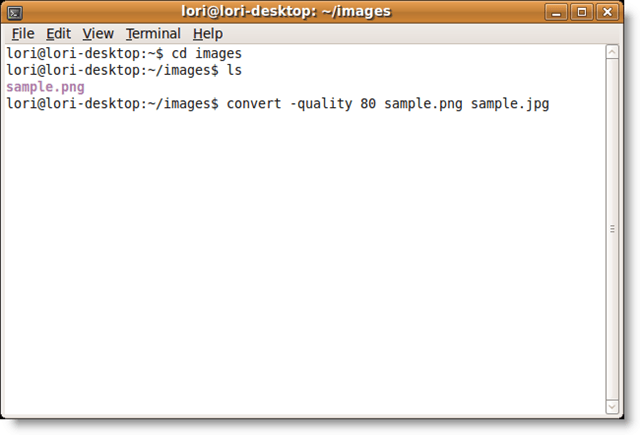
The following command converts sample.png into a JPEG image with a quality of 80.
$ convert –quality 80 sample.png sample.jpg
Converting a .png file to a .jpg fileConverting a .png file to a .jpg file
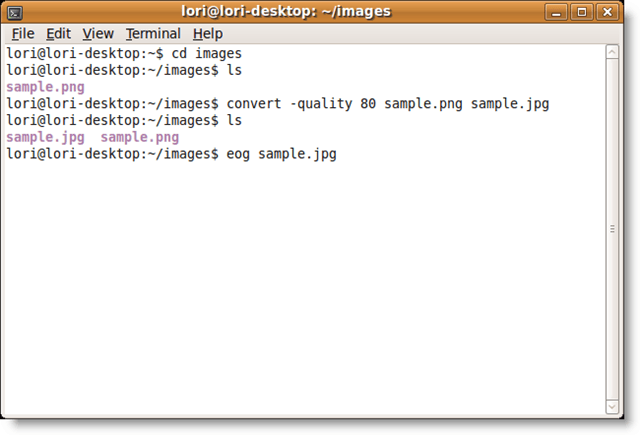
A JPEG file called sample.jpg is created in the same directory as the original .png file. There is a quick way to view the converted image. The default image viewer in Ubuntu is called Eye of Gnome. Using Eye of Gnome, you can quickly view the following images: ani, bmp, gif, ico, jpeg, pcx, png, pnm, ras, svg, tga, tiff, wbmp, xbm, and xpm.
To run Eye of Gnome from the command line, simply type eog. So, to view the converted image file type the following command:
$ eog sample.jpg
Command for viewing an imageCommand for viewing an image
The viewer opens displaying the specified image.
Viewing an image in Eye of GnomeViewing an image in Eye of Gnome
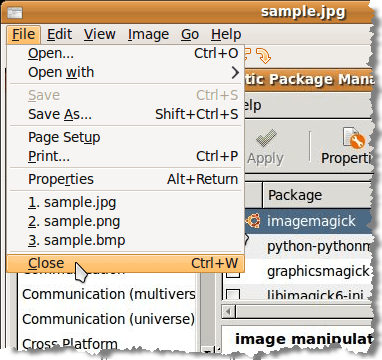
To close Eye of Gnome, select Close from the File menu.
Closing Eye of GnomeClosing Eye of Gnome
If you prefer using the command line to perform tasks, click here to access a web page that provides a set of examples using ImageMagick from the command line. Enjoy!
Related Posts
Founder of Help Desk Geek and managing editor. He began blogging in 2007 and quit his job in 2010 to blog full-time. He has over 15 years of industry experience in IT and holds several technical certifications. Read Aseem’s Full Bio