Everything you need to know to install SteamOS on your very own computer
Valve’s Linux-based gaming OS isn’t hard to get going, if you mind the pitfalls.
True to its word, Valve has released a beta version of SteamOS, the Linux-based operating system that it will use to power its living room Steam Machine consoles. The release coincides with a lucky group of 300 public beta testers who were selected to actually receive Steam Machines to test on—the rest of us can still use the OS, but we’ll have to bring our own hardware.
Valve had previously recommended that users who aren’t "intrepid Linux hackers" should wait a few more months before trying out SteamOS, but that’s not going to stop Ars from barreling head first into the midst of things! We downloaded the OS as quickly as we could after it went live and spent some time getting it whipped into shape on fresh hardware. Contrary to Valve’s warning, the install wasn’t complex or scary at all—though if you’ve never installed Linux before, it might take you a bit out of your comfort zone.
The hardware
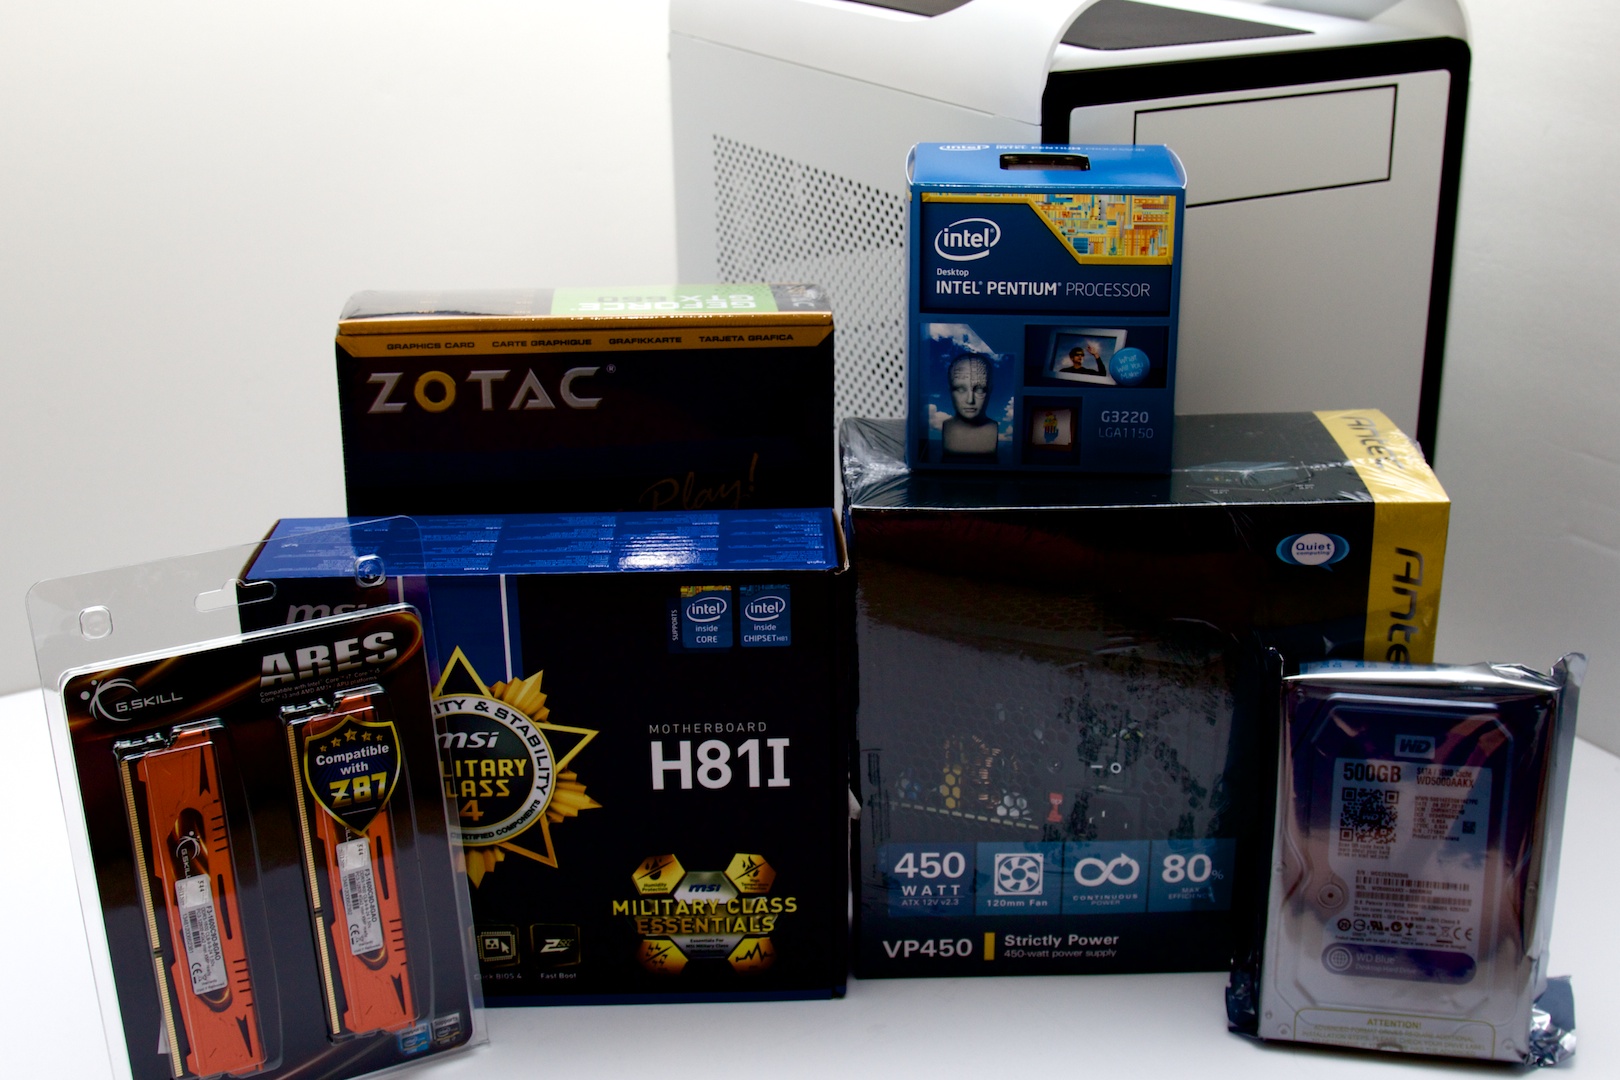
| Specs at a glance: The Ars Technica Steam Machine | |
|---|---|
| CPU | Intel Pentium G3220 (Haswell), dual-core, 3.0GHz |
| GPU | Zotac Geforce GTX660 (2GB) |
| RAM | 8GB DDR3-1600 |
| Motherboard | MSI H81I (mini-ITX) |
| Storage | Western Digital WD Blue 7200 rpm 500GB HD |
| Sound | Onboard |
| Network | Onboard (wired gigabit Ethernet) |
| PSU | Antec VP-450, 450W |
| Case | BitFenix Prodigy, arctic white |
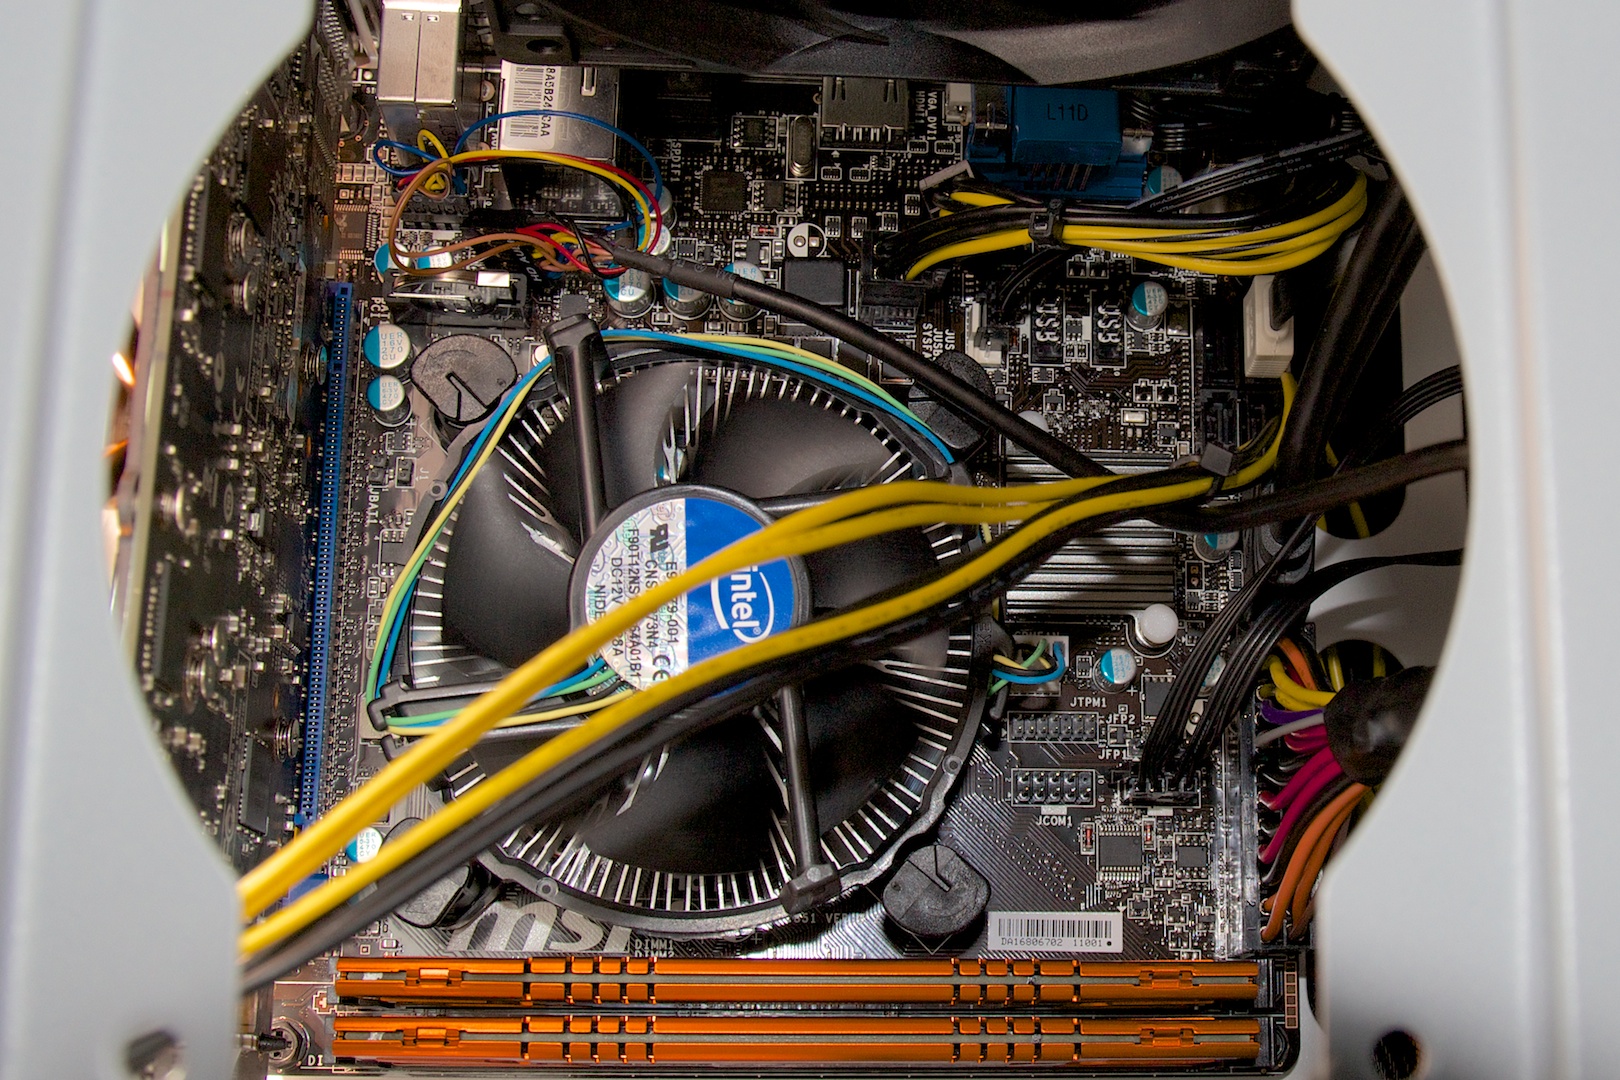
Since we didn’t receive a Steam Machine to test, we set out to build our own. Our goals were to stick to SteamOS hardware known to be good and to keep the price between 5ドル-600. Andrew Cunningham, Kyle Orland, and I all stuck our heads together and came up with the configuration at right. All items were purchased from NewEgg, and the total prior to shipping was 562ドル.93.
We certainly could have gone much higher if we’d been willing to spend real gaming PC money. However, to keep the price at least marginally competitive with next-gen console offerings, we backed several of the components down. We chose a dual-core Haswell Pentium instead of a more feature-loaded i5, 8GB of RAM instead of 16GB, and a spinny disk over an SSD. Fortunately, all of these components can be upgraded at any point—this is, after all, a PC.
On the other side of the fence, if 600ドル-ish is too high, you could skim some cost off by going with previous-generation or lower-end components at the expense of future expandability. The place with the most "give" is the video card. We stuck with the GTX660 because it’s specifically called out in Valve’s previously released Steam Machine specs (although we went with the 2GB model instead of 3GB). The types of games that we’ll eventually be playing on this thing are, at least for now, well-known titles that have previously been out on other operating systems, so it’s easy to target your video card to the type of gaming experience you want to have.
When we were planning the build, we had very little info on exactly what video drivers would be bundled with the SteamOS beta, so sticking with an Nvidia GPU that Valve itself was going to use in real Steam Machines was the safe option. Now that the operating system is out, here are Valve’s official hardware requirements, from the SteamOS FAQ:
- Intel or AMD 64-bit capable processor
- 4GB or more memory
- 500GB or larger disk
- NVIDIA graphics card (AMD and Intel graphics support coming soon)
- UEFI boot support
- USB port for installation
A brief word on the choice of controller
The other big part of the Steam Machine experience that we didn’t have access to was the touchpad-equipped Steam Machine Controller. We’ll be doing an extensive hands-on with a variety of games once they’re available for normal non-Valve, non-beta testers to use, but for now we have to make do with traditional input methods.
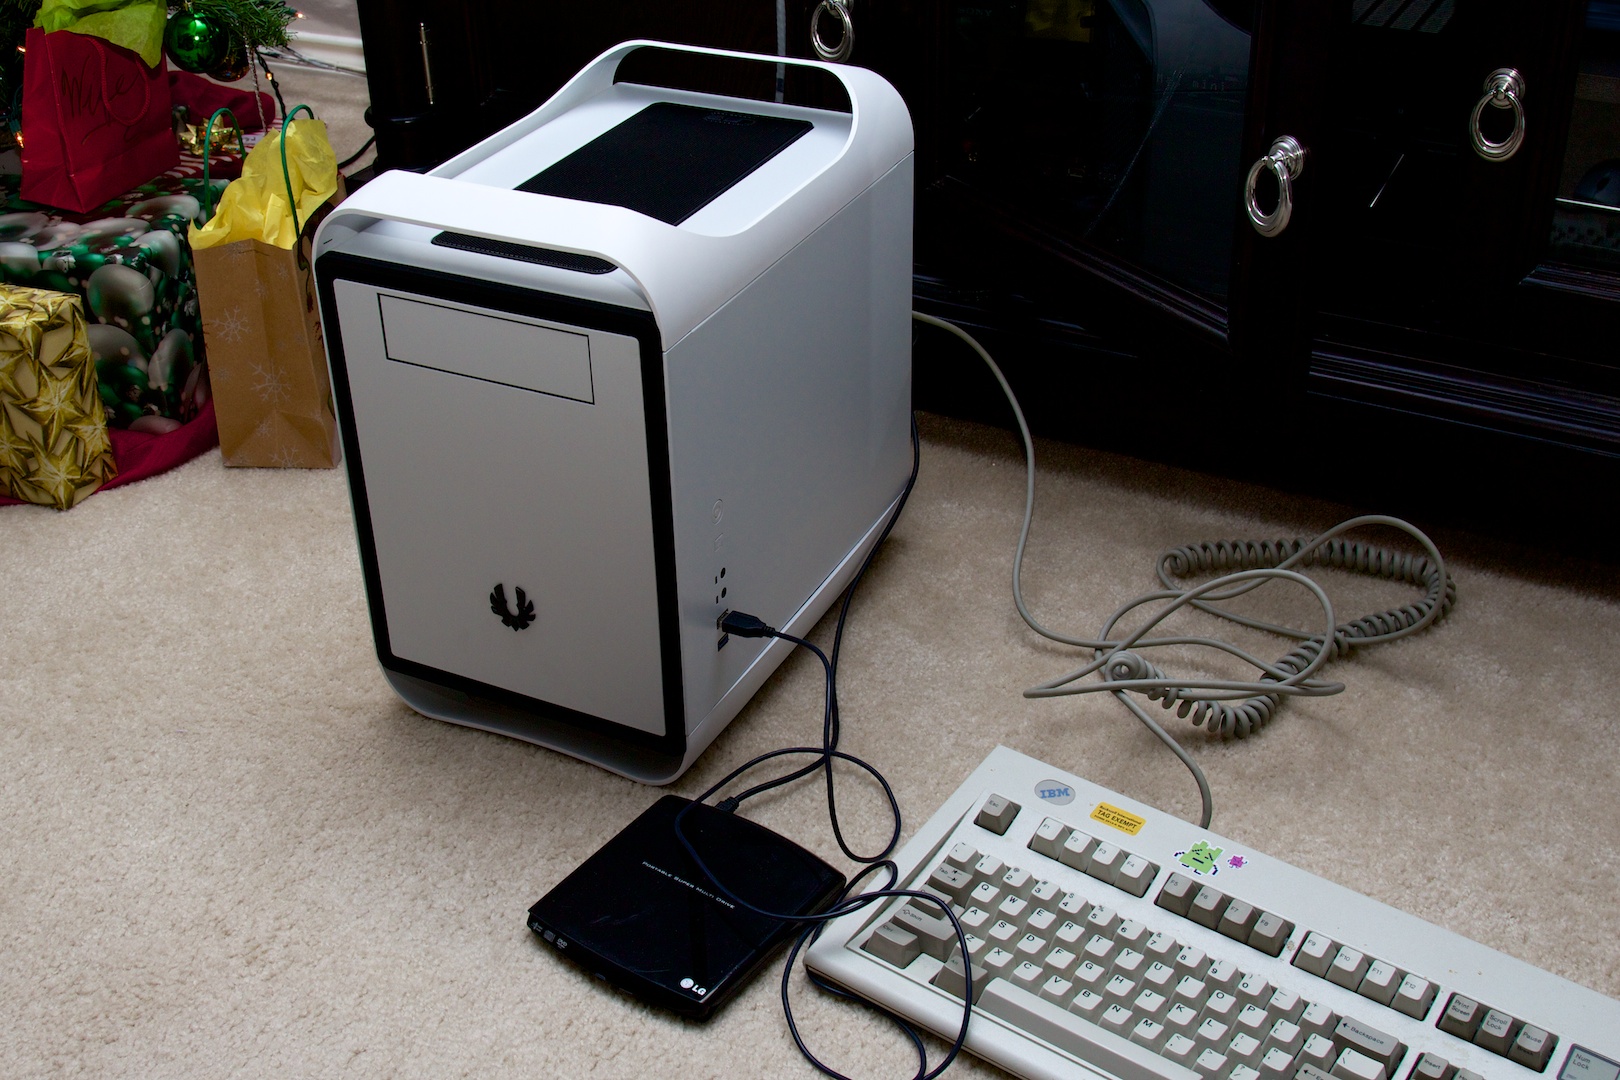
For the Ars Steam Machine, we’re going with a combination of a USB mouse and keyboard and a wired Xbox 360 controller. The keyboard is necessary to get the operating system installed, though SteamOS is designed to be driven by a gamepad after the install is complete. In my heart, though, I’m a PC gamer—I can’t actually play PC games with a controller. Some folks can make that jump, but I’ve been doing it with a mouse and keyboard for too long to change. So, mouse and keyboard it is.
SteamOS
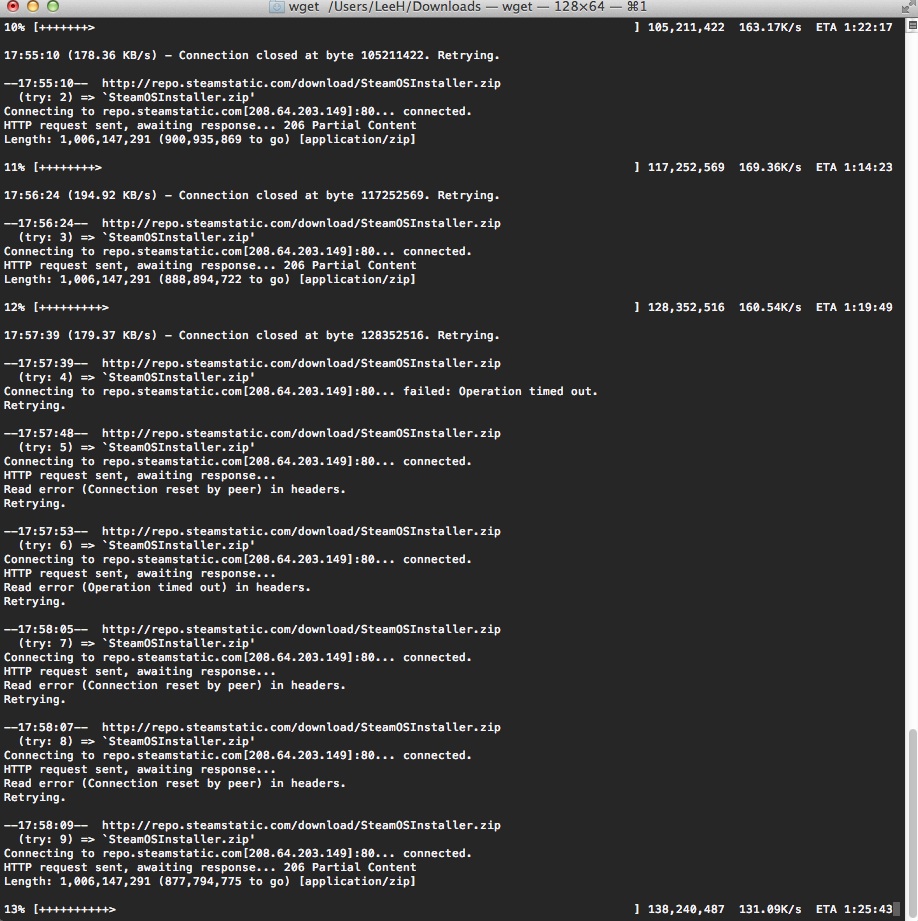
The SteamOS installer showed up on Valve’s servers (ZIP) at about 17:20 CST on December 13, and downloading was a madhouse of slow speeds and rampant disconnects. Fortunately, Bittorrent came to the rescue, and after a while we were able to grab what we needed.
SteamOS is a customized Linux distro based not on Ubuntu, as was reported prior to its release, but rather on Debian Wheezy. Valve is maintaining its own SteamOS package repository (and is using these pre-installed packages). For now, the SteamOS beta is using version 3.10.11 of the Linux kernel. Other SteamOS customizations off of Debian include a heavily patched graphics compositor to link together SteamOS, Steam games, and the Steam in-game overlay. The operating system has been configured to pull its updates directly from Valve’s repository. It also has a standard Gnome desktop environment hiding out beneath the Steam-y bits, which we’ll get to.
If you’re one of the 300 actual Steam Machine beta testers, you can report bugs and issues directly to Valve (and, if you’re one of the 300 actual Steam Machine beta testers, you already know this). For the rest of us, Valve is hosting a community issue tracker on Github, where users can post issues. Unfortunately, the tracker’s README file contains the following dispiriting information about how much of a response those postings will receive:
This issue tracker is meant for community support and requests for improvements; it will not be closely monitored by Valve while the Hardware Beta Test is running.
The installation
There are two different ways to get SteamOS installed on your system, which Valve has helpfully outlined on the "build your own Steam Machine" page. The first is a fully automated method that restores the contents of a 2.7GB disk image onto your computer’s hard disk drive. This method is simpler, but requires a much larger download; we skipped it in favor of the alternative.
That alternative, which Valve calls a "custom installation," involves using a UEFI-booting 960MB Debian-based installer to kick off a multi-step script-based process. It requires a bit more work, but it’s not terribly daunting. After installing all of the SteamOS packages, this method relies on the user to boot into the OS and trigger scripts to create a restore partition of the completed install; in fact, the 2.7GB fully automated install is so much larger because it already contains the restore partition.
It’s worth noting that both methods require you to have a computer that can boot via UEFI. The basis for the requirement isn’t exactly clear yet, and at least one enterprising redditor has figured out how to hack around it and make an installer that works with a standard BIOS—though the consequences of actually following those instructions are unknown.
One very important caveat: Both of the official install methods will erase your hard drive. At least for now, there is no way to dual-boot SteamOS or install it on a second hard drive. The installer is a Debian custom unattended install, which includes automatic partitioning of the computer’s primary disk and then an automated OS install onto the new partitions. The larger, image-based method partitions the disk and then installs pre-created disk images onto those partitions. At least for now, the only way to get SteamOS onto a computer is to sacrifice that computer to Valve.
The custom install
We decided to try the smaller custom installer first, simply because it was faster to download. Unzipping the custom installer’s zip file reveals the Debian installer files. We copied the whole mess onto a fresh FAT32-formatted USB stick and then booted up our test system.
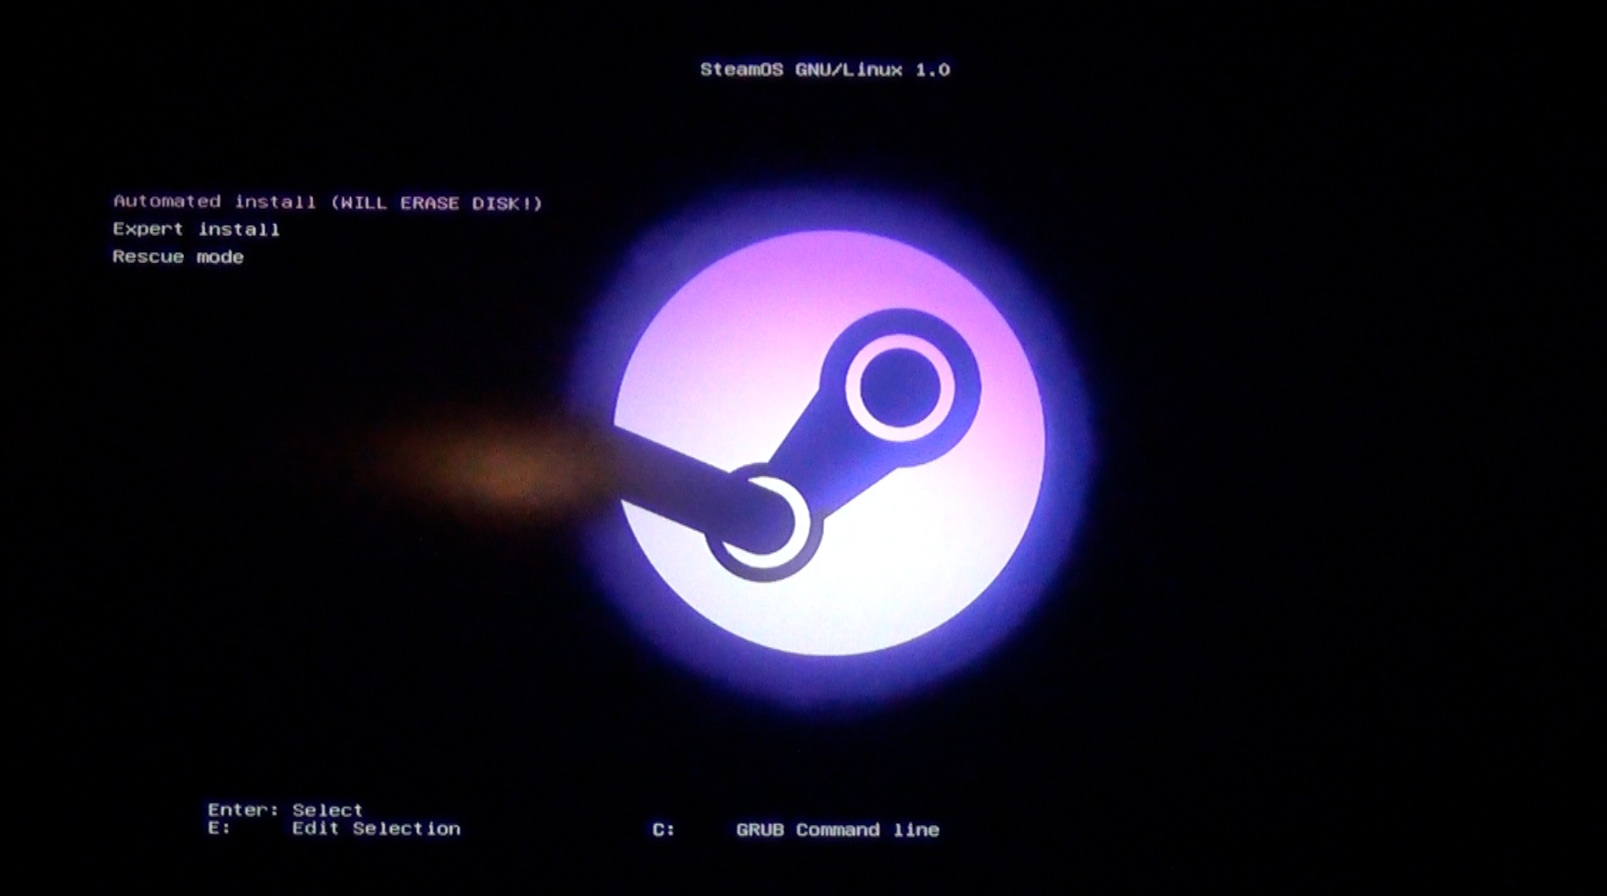
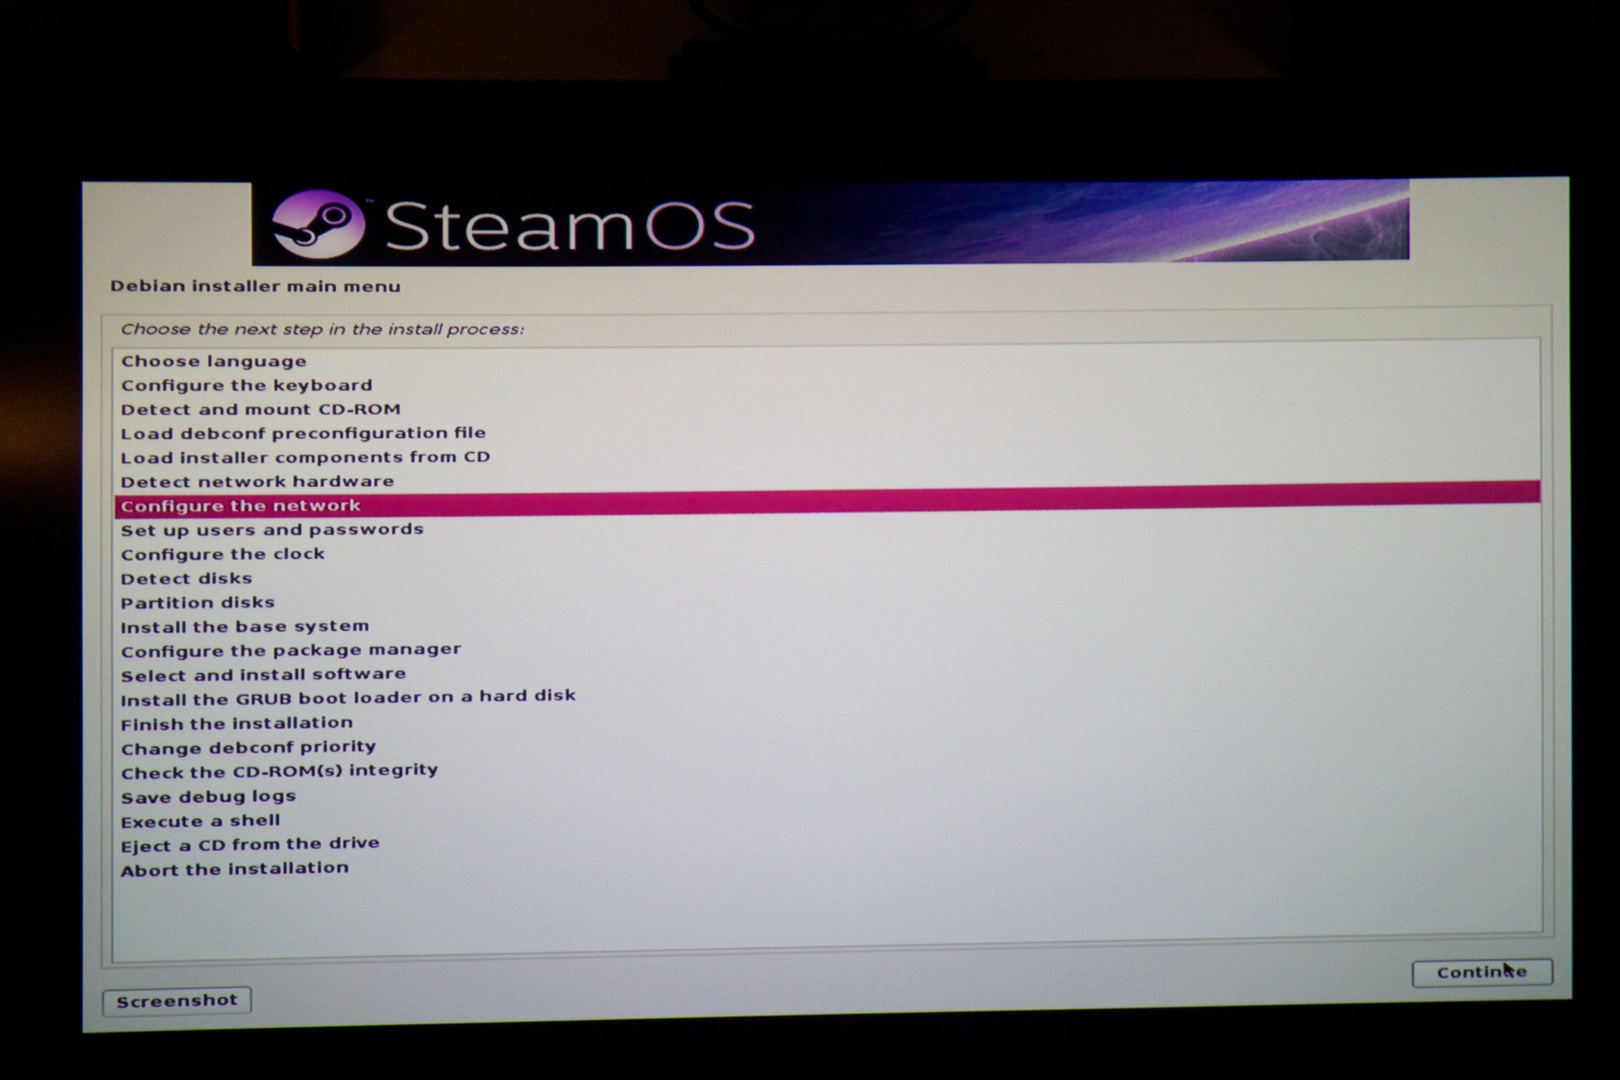
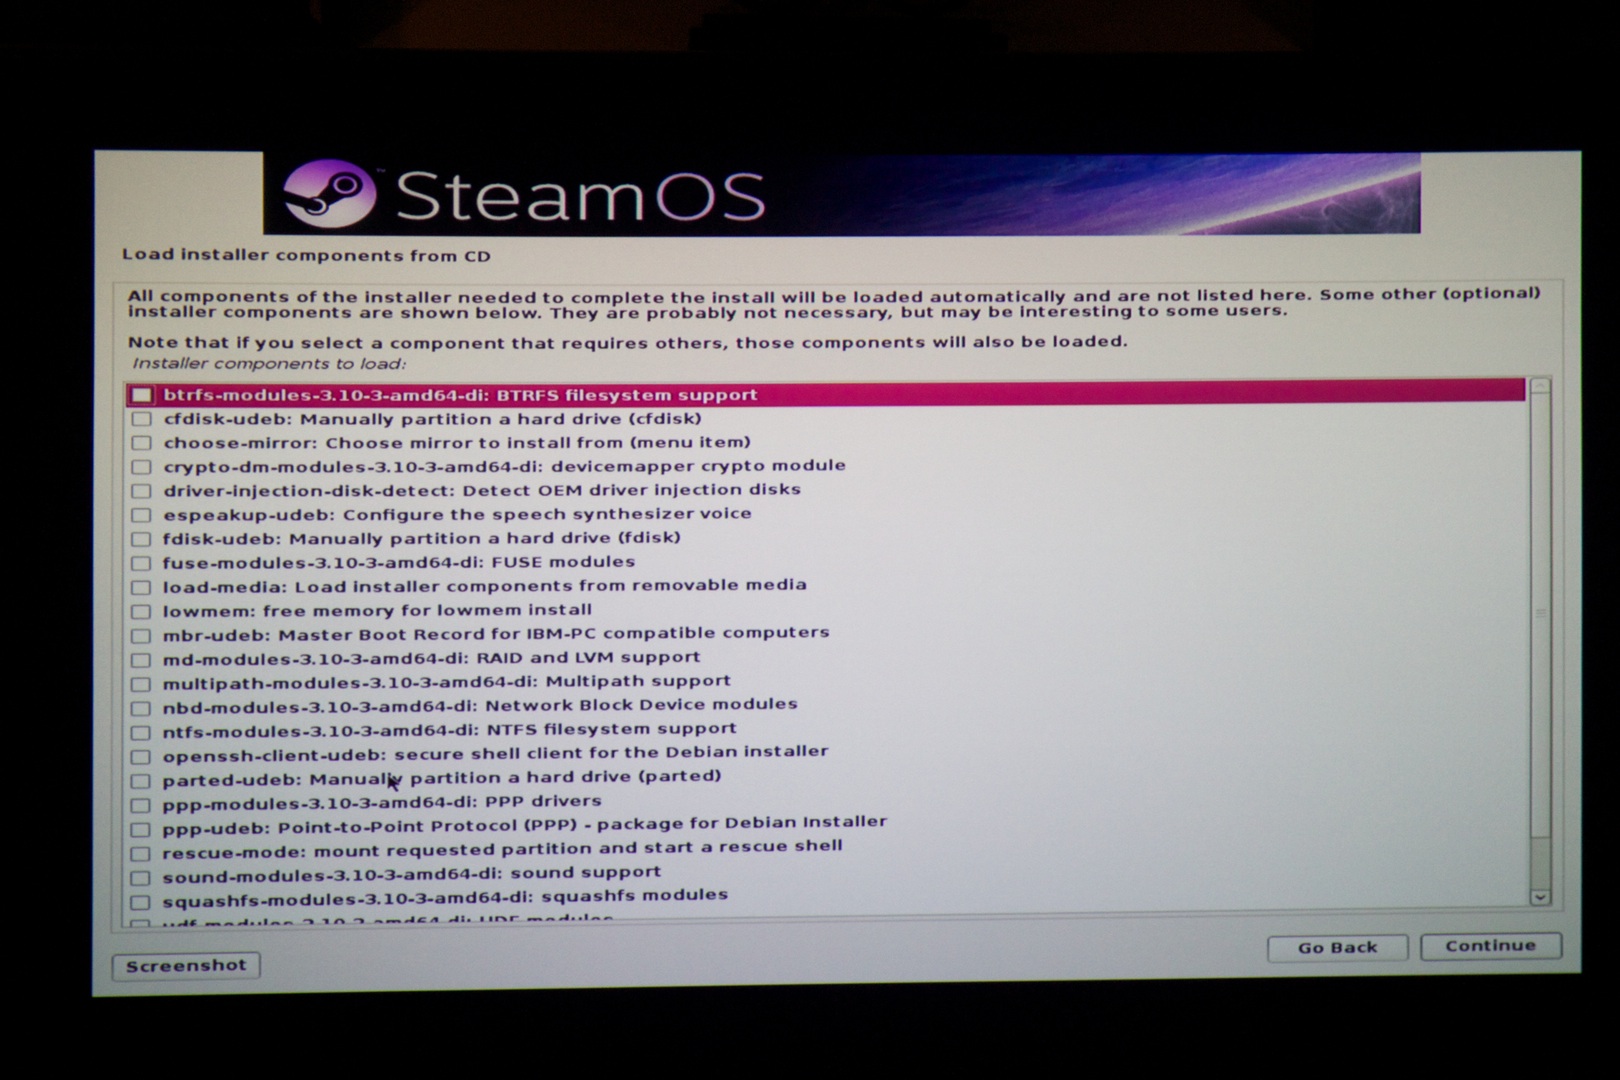
The boot manager presented us with a few options. The instructions recommended picking the "Automated Install" option and so, because this was our first time and we wanted to try to do it right before we started screwing with it, we followed the instructions. We also went back in later and ran through "Expert install" mode; unfortunately, although they give you some more flexibility in what packages are installed, they don’t allow you to customize the partition layout (which is what everyone seems to want).
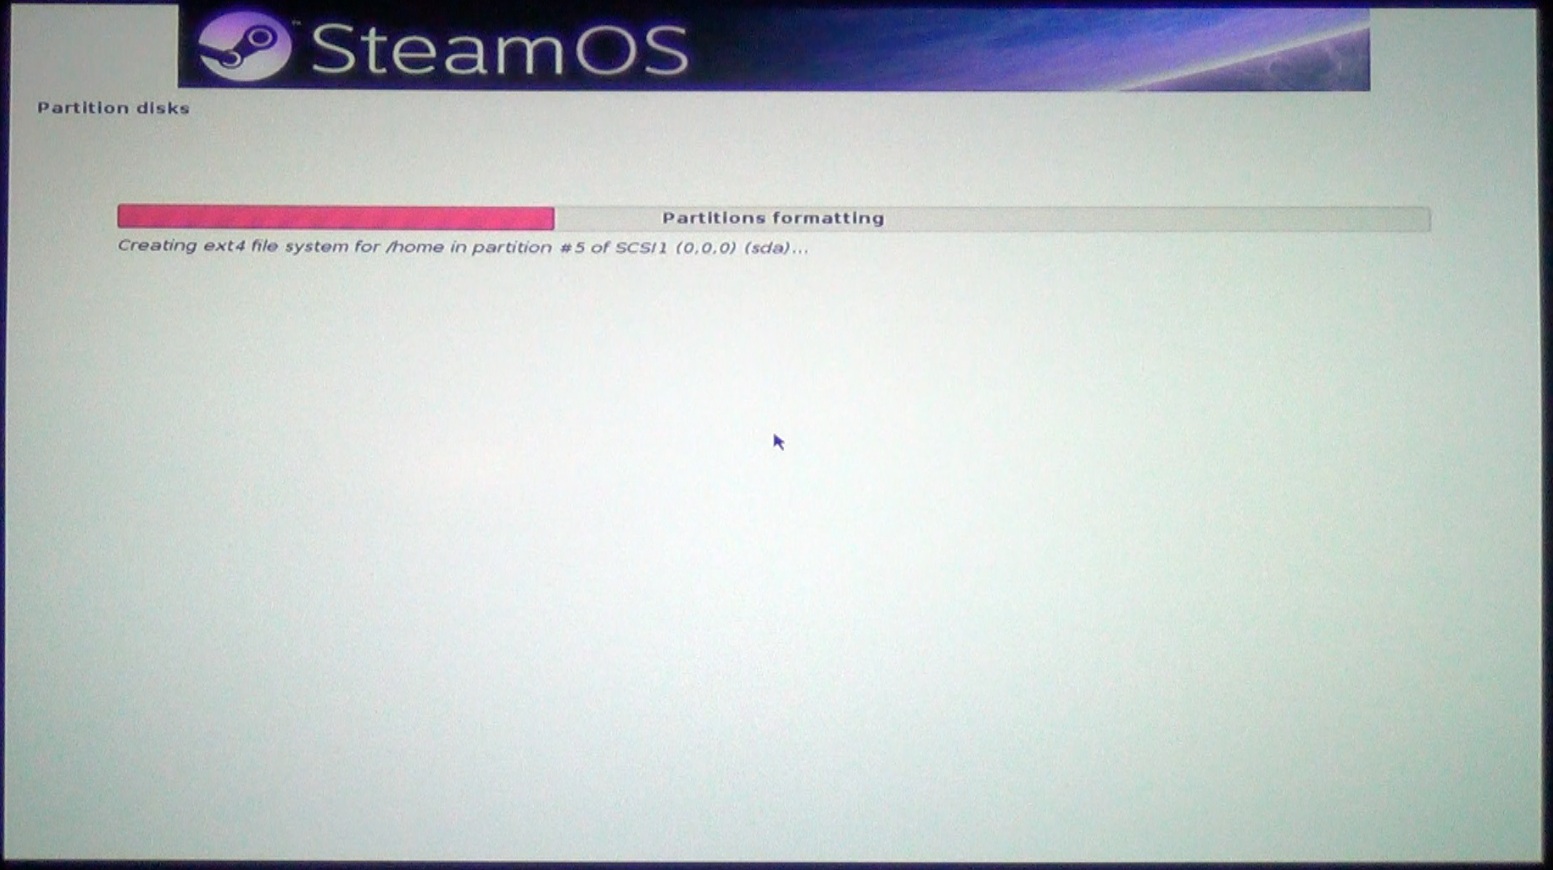
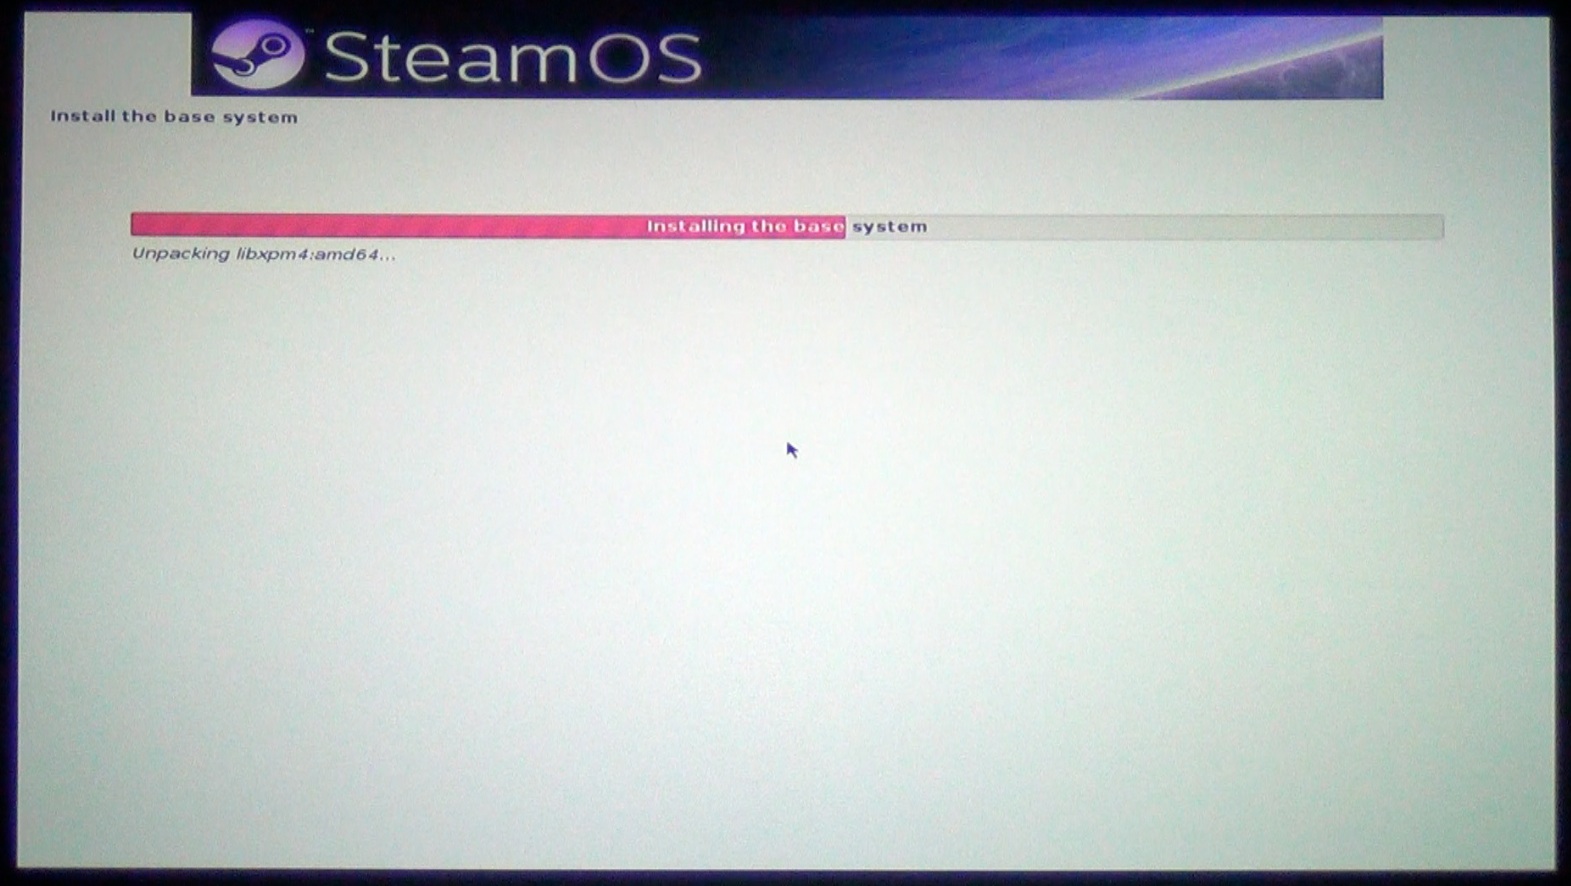
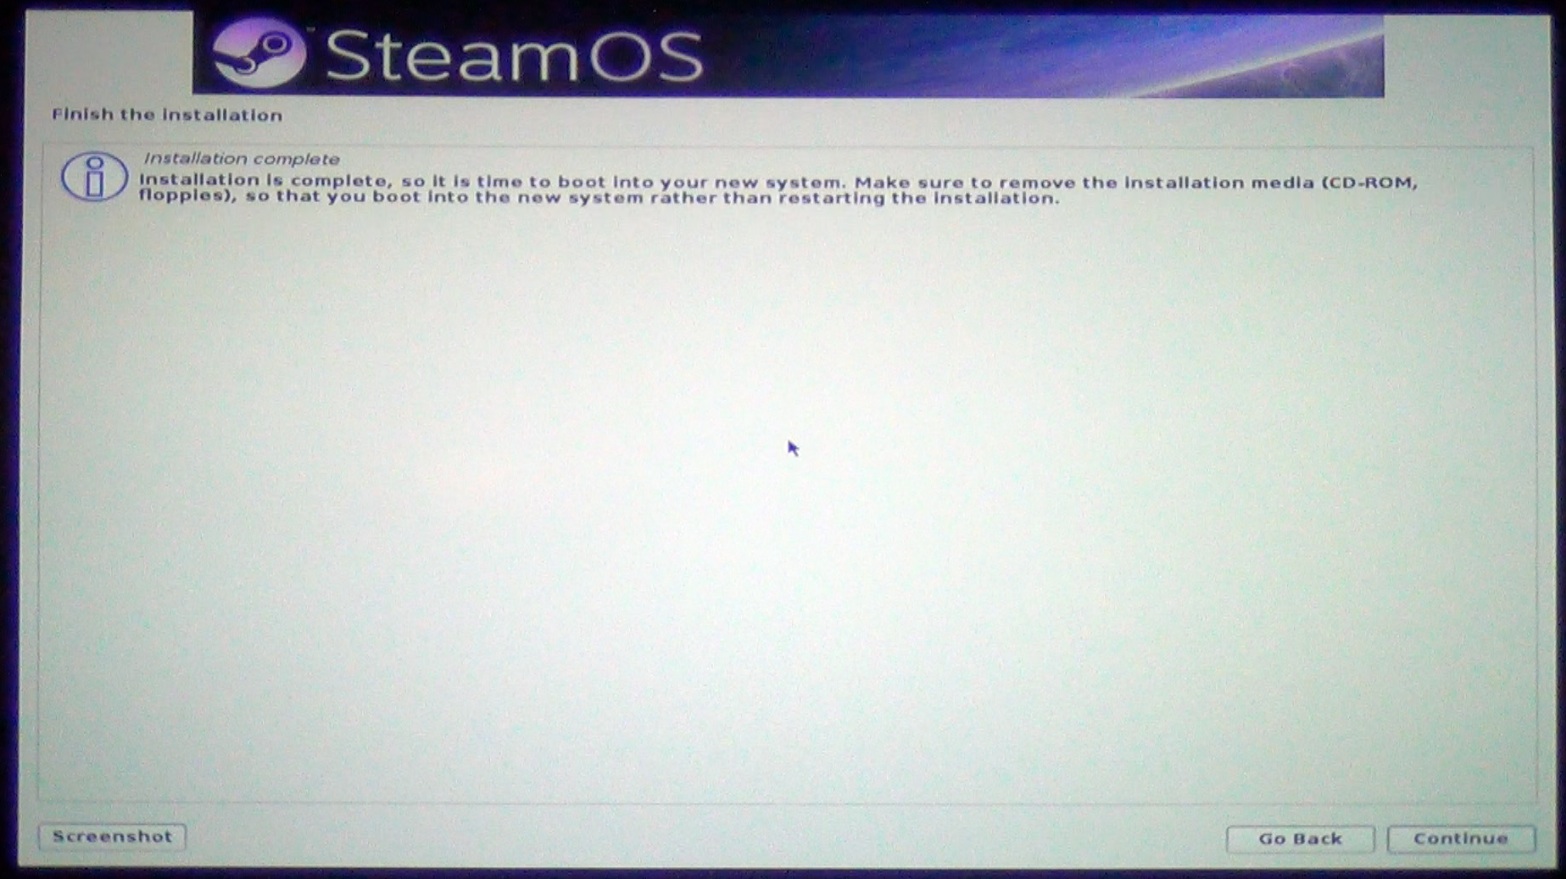
After picking "Automated Install," the installer ran on its merry way and did a bunch of Debian-like things, partitioning our disk and installing its packages without any input from us. Total time for this first portion of the install was just over 19 minutes.
On reboot, we were presented with a Debian logon window. The installer creates a pair of users, one privileged and one unprivileged. The instructions at this point said that we needed to log on with the privileged user and start the Steam application for the first time to let it "bootstrap"—that is, let it download and stage the Steam client files needed by SteamOS.
The gotcha
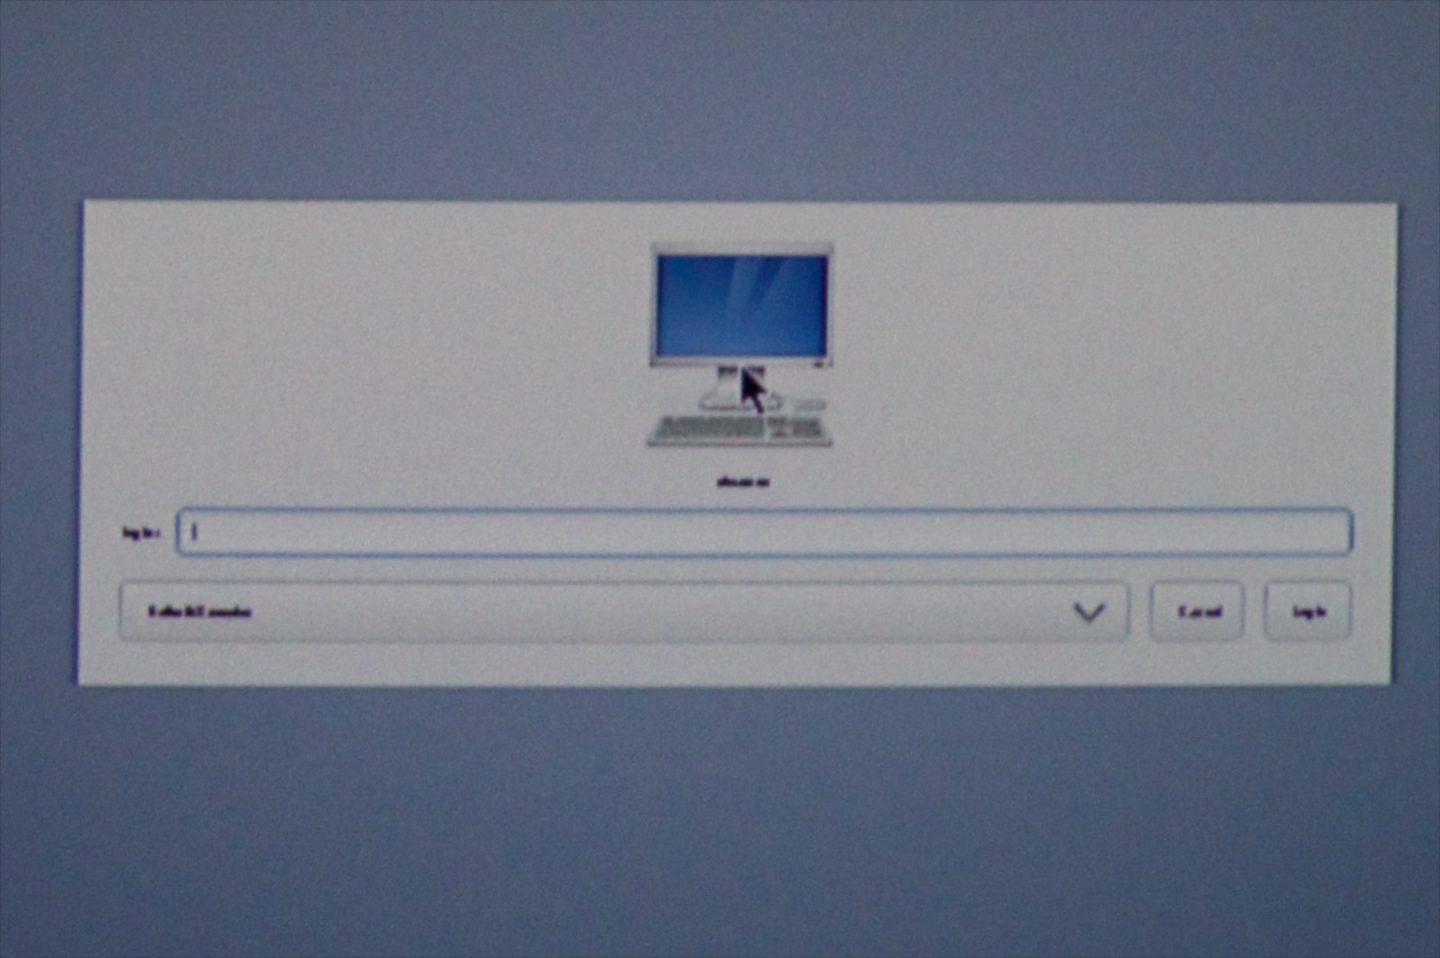
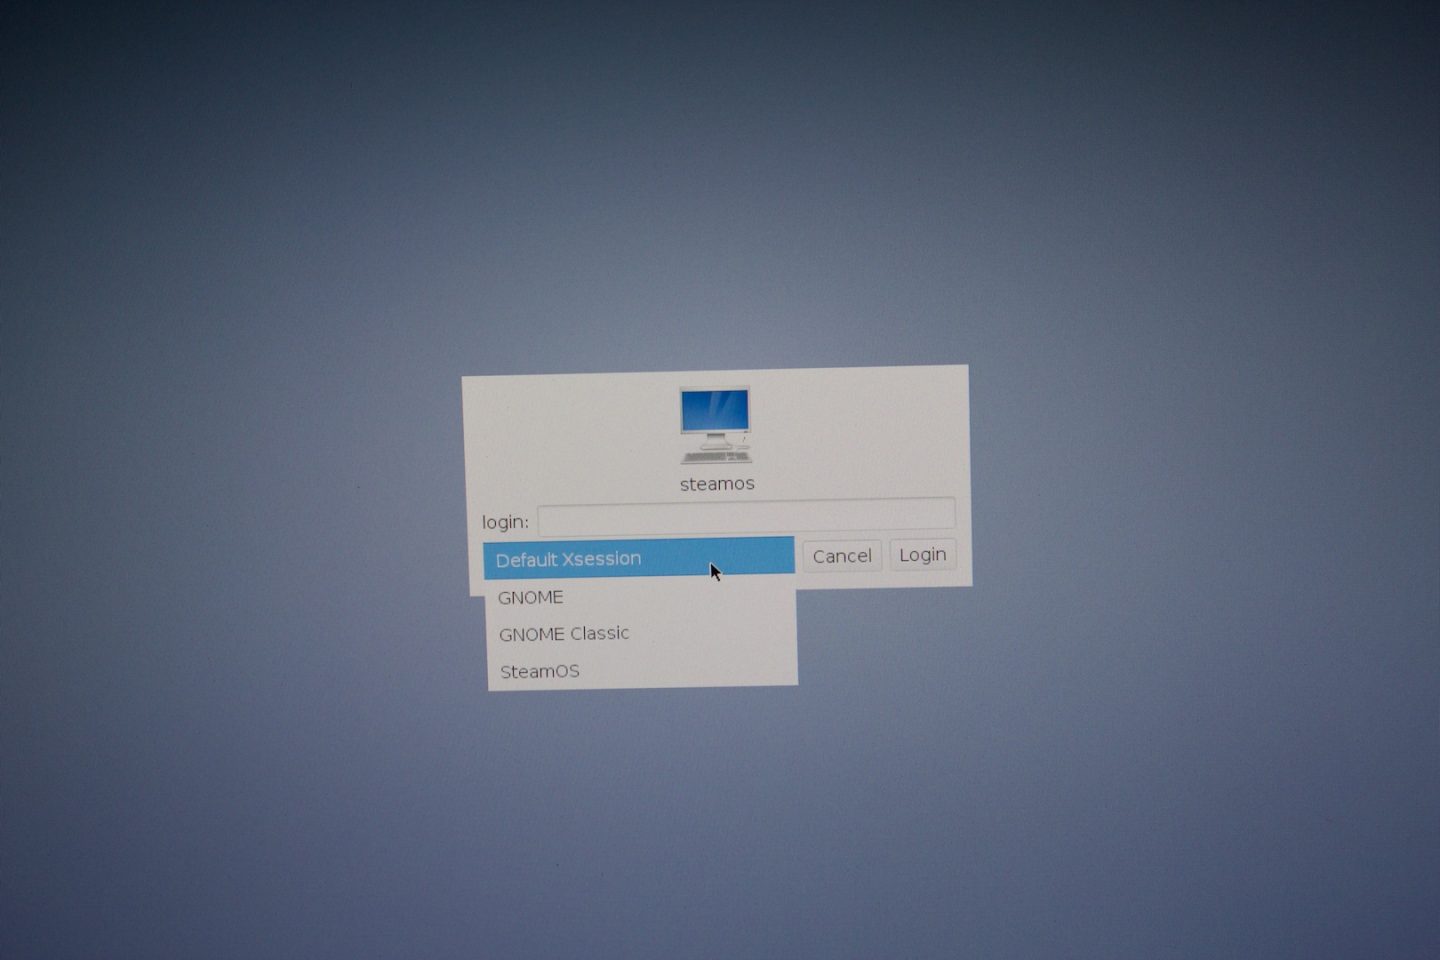
Here is where we made our one and only big mistake. The Debian logon window includes a session chooser, where you specify which local desktop instance to connect to, and the SteamOS instructions clearly specify to pick the "Gnome" session:
7. After installation is complete, log onto the resulting system (using the Gnome session) with the predefined "steam" account.
Unfortunately, the logon window on my TV was rendered with illegibly small text. I assumed that the correct session would be selected by default, but it wasn’t—the session chooser (perhaps unsurprisingly) defaults to "Default X Session." While attached to the wrong session, I couldn’t start Steam. Proceeding with the installation directions past that led to a whole lot of problems and culminated in a system that wouldn’t boot at all. Rather than take time to troubleshoot, I ended up reinstalling SteamOS.
Choosing the right session
Back at the logon screen, we had to hunt around a bit and found the option to make the text larger (it’s in the upper-right corner), and we ended up connecting a DVI monitor just so we could see what exactly was going on—this helped immensely. After picking "Gnome" and logging on with the Steam account, we hit the "Steam" shortcut on the desktop, which downloaded the Steam client.
After that, we rode out the rest of the directions, logging on as the unprivileged "desktop" user, kicking off the post_logon.sh script, and letting SteamOS automatically create a restore partition from its post-install state.
First real logon
The computer then rebooted again, and a deep bass rumbling started up. It quickly increased in volume, and my Christmas tree shed ornaments, and my wife stuck her head in to see what the hell was happening—it was SteamOS, coming to life! The computer was connected to my receiver (and thence to the TV) over HDMI, and SteamOS starts up for the first time with a brief welcome animation with accompanying impressive rumbly sounds. Apparently I’d left the receiver’s volume turned up pretty high, and the welcome animation and its audio was... startling.
However, this was good news: audio out over HDMI worked immediately, without me having to do any tweaking at all!
SteamOS asked me to choose my language, agree to an EULA, and then select a time zone. Then it asked for my username and password, which I entered, and it hit me with a Steam Guard prompt, which also worked like normal, and then we were into SteamOS. That was it.
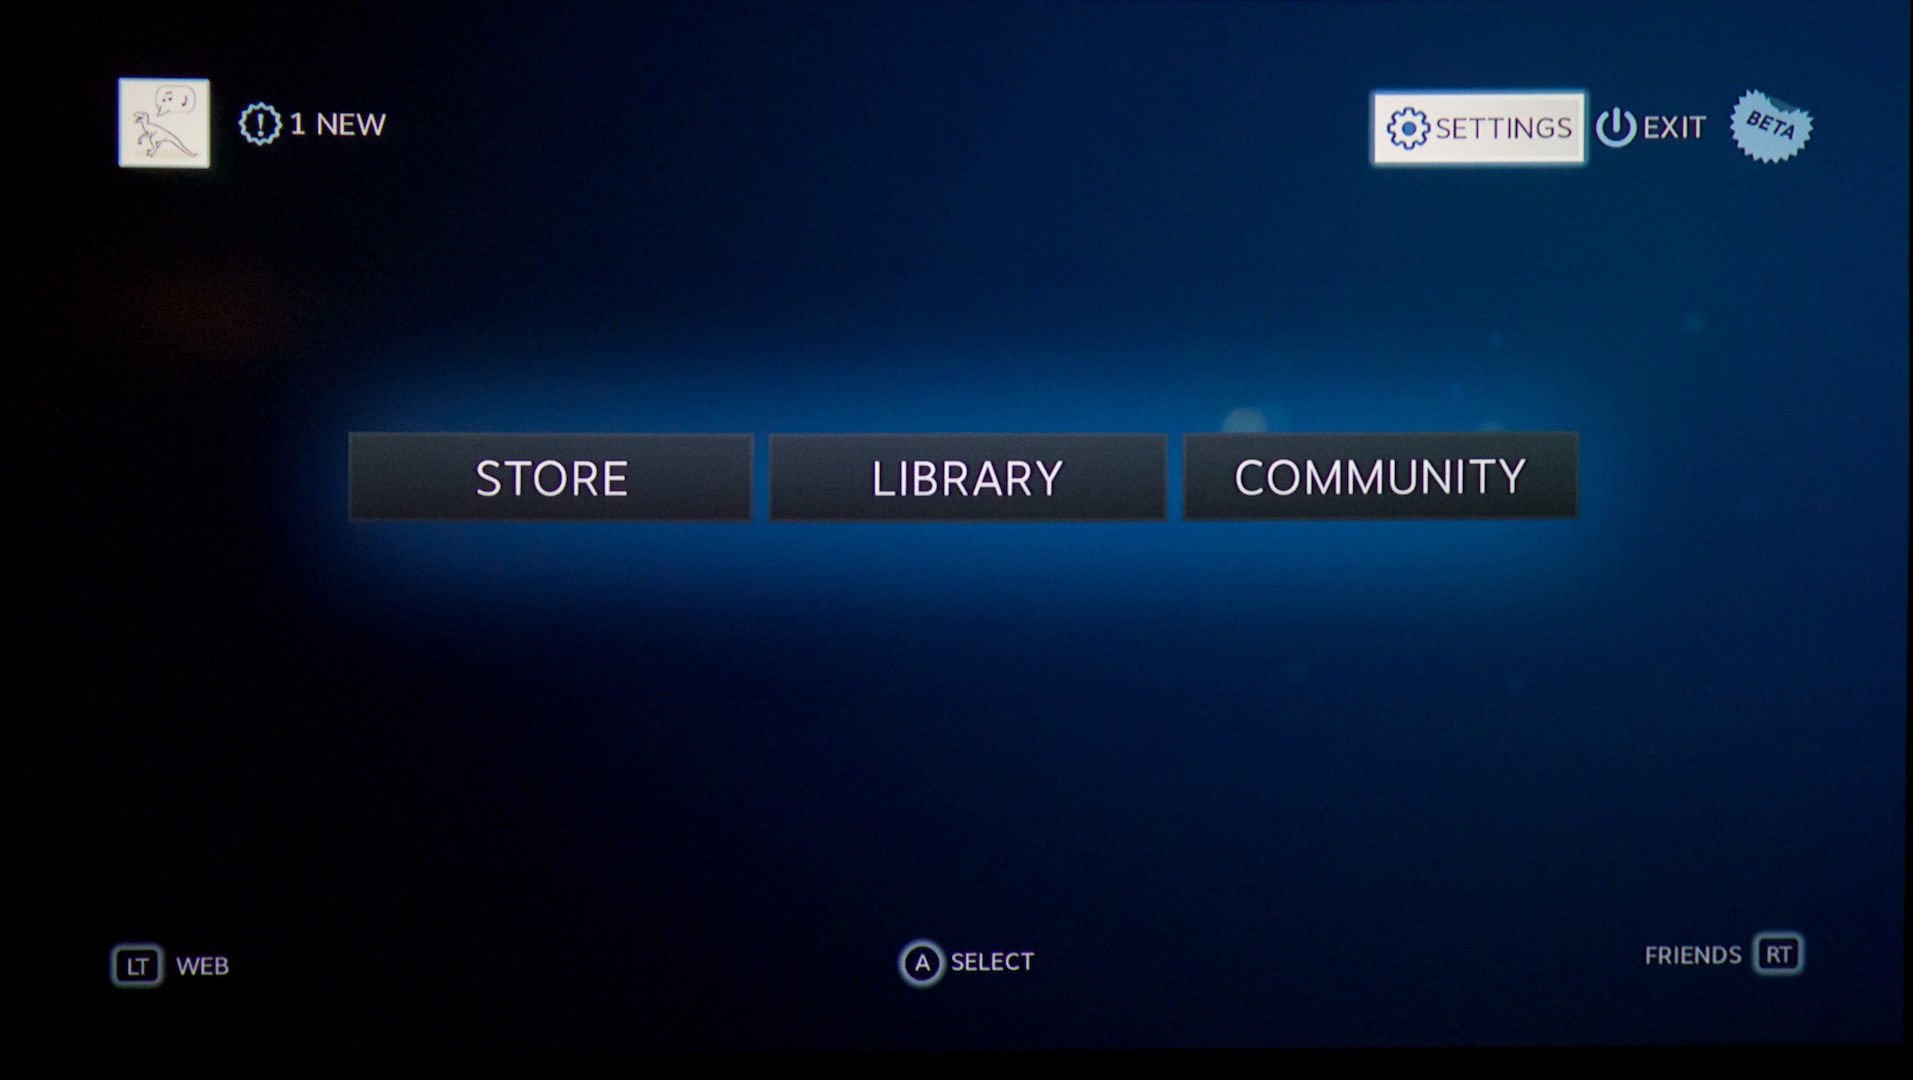
Some specifics
The operating system is all cool blues and soft silvers. While navigating around, a nondescript low music plays—it’s half ominous and half soothing. If anything, there’s a little too much motion going on—most areas of the operating system have a raindrop/speckling animation playing behind them, and several screens are overlaid on top of shifting mosaics made up of game title screens or your buddies’ avatars. It’s not quite overdone, but it’s close.
The first thing we tried to do once logged in was connect a controller, and we were pleasantly surprised to see that the wired Xbox 360 controller was immediately identified as an "Xinput compatible controller." After connecting it, the SteamOS menu prompts changed from mouse-clickable "OK" and "Cancel" buttons to "A – Select" and "B – Done" buttons.
More, the operating system shifts slickly back and forth between mouse and controller input. If you wiggle a controller’s stick or press a button, the controller-specific prompts fade in. Grab the mouse, and the mouse-clickable buttons fade back. It’s a thoughtful and well-designed touch.
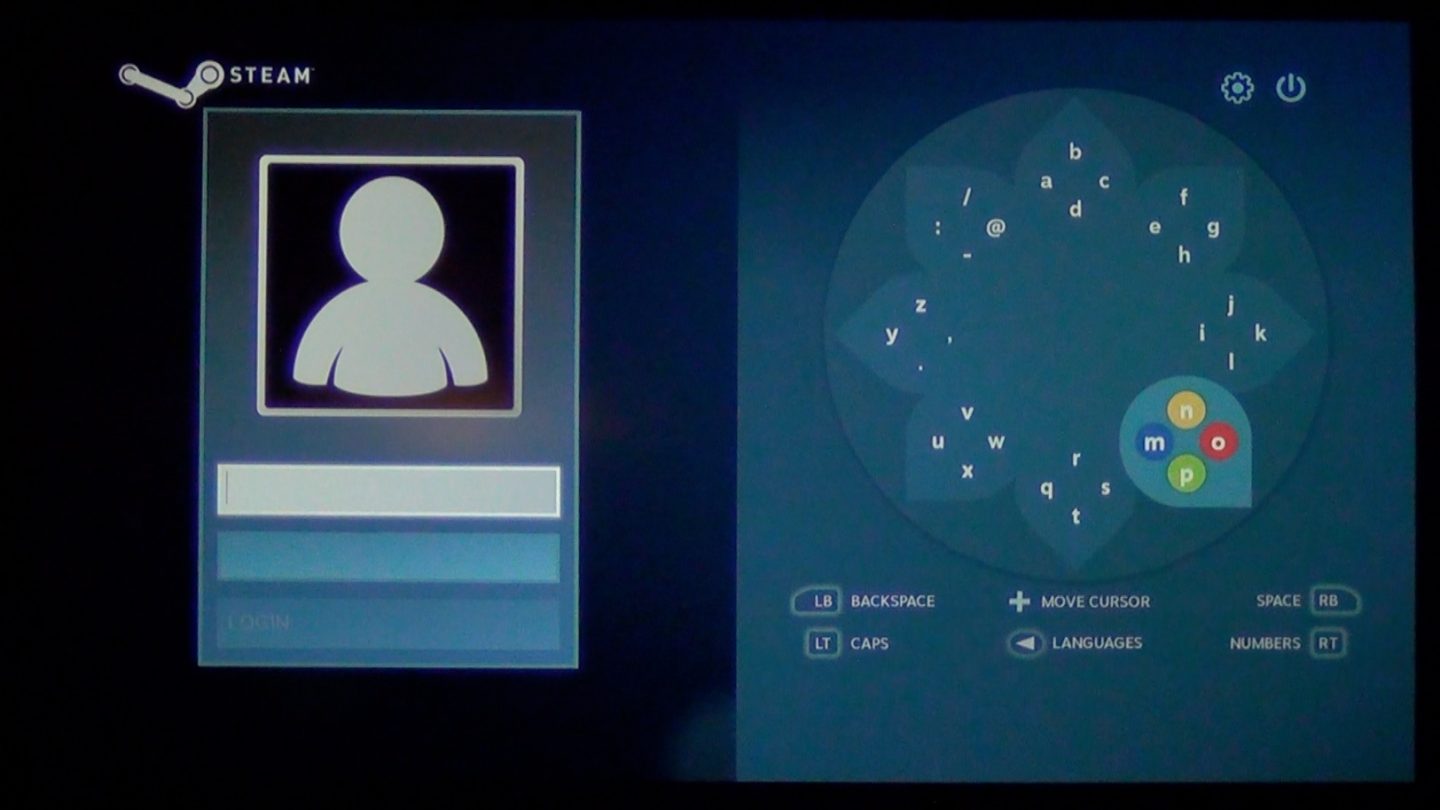
Text entry via the controller is also done in an extremely intuitive fashion. When you’ve selected a text field, an eight-pointed star appears, with each point in the star containing four characters. To enter text, you move the left stick in one of eight directions, highlighting one of the star’s points, and then press the controller button corresponding to the letter you want to select. It only took a few seconds to get comfortable with it. I wouldn’t want to write a long e-mail with it, but for quick text entry it was perfectly fine.
Breaking free
And, of course, Debian is lurking just below the surface. There’s a configuration option labeled "Enable access to the Linux desktop," and if you tick that, SteamOS gains an "Exit" button that kicks you out to the Gnome desktop.
The thing we were most curious about was how much space was taken up by Steam post install. A quick peek revealed the following:
Even though the SteamOS requirements list a 500GB drive as the minimum, there’s plenty of space free. Our 500GB drive has been chopped up into five partitions; the largest is /home, with 2.6GB used and 406GB free and ready to be used for Steam content.
We didn’t have a smaller SSD handy to test with, but unless the installer specifically checks, a disk smaller than 500GB will host SteamOS without any problems.
More to come
Both Andrew Cunningham and I will be digging more into SteamOS over the next few days. We’ll put up a video documenting the installation process and showing off how SteamOS looks in motion; we’ll also be doing some benchmarking and some ruminating on hardware choices for a home-grown Steam Machine.
Should you go out and do this yourself? Right now, no—the much ballyhooed home streaming that everyone is desperate to try out isn’t present in this version of SteamOS, so really all it is today is a way to run a limited subset of your existing Steam library on an odd version of Steam that requires a dedicated computer. For now, unless you’ve actually got a Valve-branded Steam Machine in hand, there isn’t anything here for you to really do.
Not yet, anyway. But there will be.