Create a simple home page. Replace the code in the app.component.html file with the following landing page content:
<div class="container-dark header">
 <h2>Our Business Website</h2>
</div>
<div class="container-white">
 <div class="content">
 <h2>Our Business Website</h2>
 <p>Learn how to design, develop, and maintain your professional website in no time.</p>
 </div>
</div>
<div class="container-orange">
 <div class="content">
 <h2>What We Do</h2>
 <p>We give you the tools to develop websites and unique solutions for your customers. We also provide training for
 maintenance and other website related topics.</p>
 </div>
</div>
<div class="container-white">
 <div class="content">
 <h2>About Us</h2>
 <p>We are a small business operating from Melbourne, Australia. Our spaces are uniquely crafted so clients can also
 visit us in person.</p>
 </div>
</div>
<div class="container-dark footer">
 <p>Copyright 2022</p>
</div>
Add some styling to the Angular app by adding some CSS to the app.component.css file:
In the .browserslistrc file, remove iOS safari version 15.2-15.3. This will prevent compatibility errors from showing in the console when you build the project.
last 1 Chrome version
last 1 Firefox version
last 2 Edge major versions
last 2 Safari major versions
last 2 iOS major versions
Firefox ESR
not ios_saf 15.2-15.3
not safari 15.2-15.3
Build your code using the ng build command in the terminal:
ng build
In the .gitignore file, remove or comment out the /dist line. Removing it will ensure the dist folder is in the set of files that you push to your GitHub repository.
You will need to store your code in a remote repository for Netlify to access the source code.
You can create a new repository on GitHub, and push your website's code to that repository. If you are not familiar with GitHub, it might be useful to understand some of GitHub's basic features first.
Enter the details for your new repository. Give it a name such as "netlify-app", and a description. Do not initialize the repository with a README file, .gitignore file, or license.
In a terminal on your computer, navigate to the directory where you stored your Angular app. Run the following commands to initialize your folder as a git repository:
Push the code inside this folder to the new remote repository you made on GitHub. Follow the git remote add original, git branch, and git push commands provided by GitHub on your remote repository page:
git remote add original <Your GitHub repo link>
git branch -M main
git push -u origin main
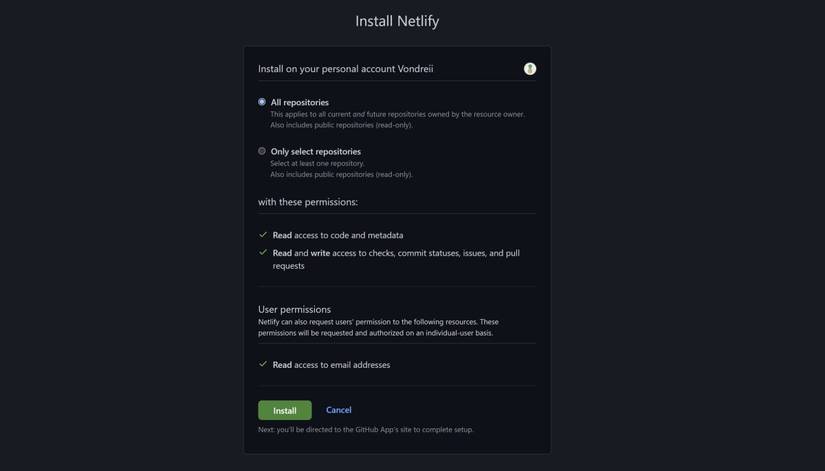
To host your code using Netlify, you will need to give it access to your GitHub source code. Netlify will then use the dist folder of your Angular project to publish the built version of your code.
You can configure all of these settings by following the configuration steps when creating a new site:
Log in or sign up to Netlify. You can do so using your GitHub credentials.
Netlify will display a list of your GitHub repositories. Select the one that you'd like to host. For example, if you have named your repository "netlify-app", then select "netlify-app" from the list.
In the configuration screen, leave the Owner, Branch to deploy, and Base directory fields at their default values. If you were publishing a specific branch, such as a separate "Production" branch, you could add that into the Branch to deploy field. Change the Build command field to "ng build".
For the Publish directory field, type dist/<your project name>. If you do not know what the project name is, you can navigate to the dist folder of your project to find it there. For example, "dist/netlify-app".
Wait for the deployment to complete. This may take a few minutes, and you may need to refresh the page. If all goes well, you will be able to see the successful deployment in the deployments list. Click on your published deployment, for example, Production: main@HEAD.
Now you can view your website in another tab, using a URL in the format of <generated-subdomain>.netlify.app. If you're hosting a website with multiple redirects, you may not be able to redirect to other pages. In this case, there is a way to fix a failing redirect on Netlify. If you want, you can also modify your free domain name.
Hopefully, you can now successfully host a website using GitHub and Netlify. You can set up automatic deployments to certain branches of a GitHub repository. This way, you can automate and streamline the deployment of your website.
But Netlify isn't the only way you can deploy an Angular app online. You can also use other platforms such as GitHub Pages.