Dream something with{" "}
Flux Schnell
{error &&
{error}
}
{prediction && (
{prediction.output && (
)}
status: {prediction.status}
)}
);
}
```
[](#step-6-add-basic-styles)Step 6: Add basic styles
----------------------------------------------------
The Next.js starter app includes some CSS styles that are used on the default splash page, but they aren’t really intended to be reused for a real app.
To create a clean slate for your styles, remove all the content in `app/globals.css` and replace it with the following basic styles:
```css
@tailwind base;
@tailwind components;
@tailwind utilities;
.container {
padding: 2rem;
font-size: 1.3rem;
max-width: 48rem;
margin: 0 auto;
}
form {
display: flex;
margin-bottom: 2rem;
}
form input {
width: 100%;
padding: 1rem;
border: 1px solid #000;
border-radius: 0.25rem;
font-size: 1.3rem;
margin-right: 1rem;
}
form button {
padding: 1rem;
border: none;
border-radius: 0.25rem;
box-sizing: border-box;
cursor: pointer;
font-size: 1.3rem;
}
.imageWrapper {
width: 100%;
aspect-ratio: 1 / 1;
position: relative;
}
```
[](#step-7-configure-image-hosts)Step 7: Configure image hosts
--------------------------------------------------------------
To protect your application from malicious users, Next.js requires some configuration to use external images. Edit the `next.config.js` file and add `replicate.com` and `replicate.delivery` to the `images.domains` array:
```javascript
const nextConfig = {
reactStrictMode: true,
images: {
remotePatterns: [
{
protocol: "https",
hostname: "replicate.com",
},
{
protocol: "https",
hostname: "replicate.delivery",
},
],
},
};
export default nextConfig;
```
[](#step-8-create-a-prediction)Step 8: Create a prediction
----------------------------------------------------------
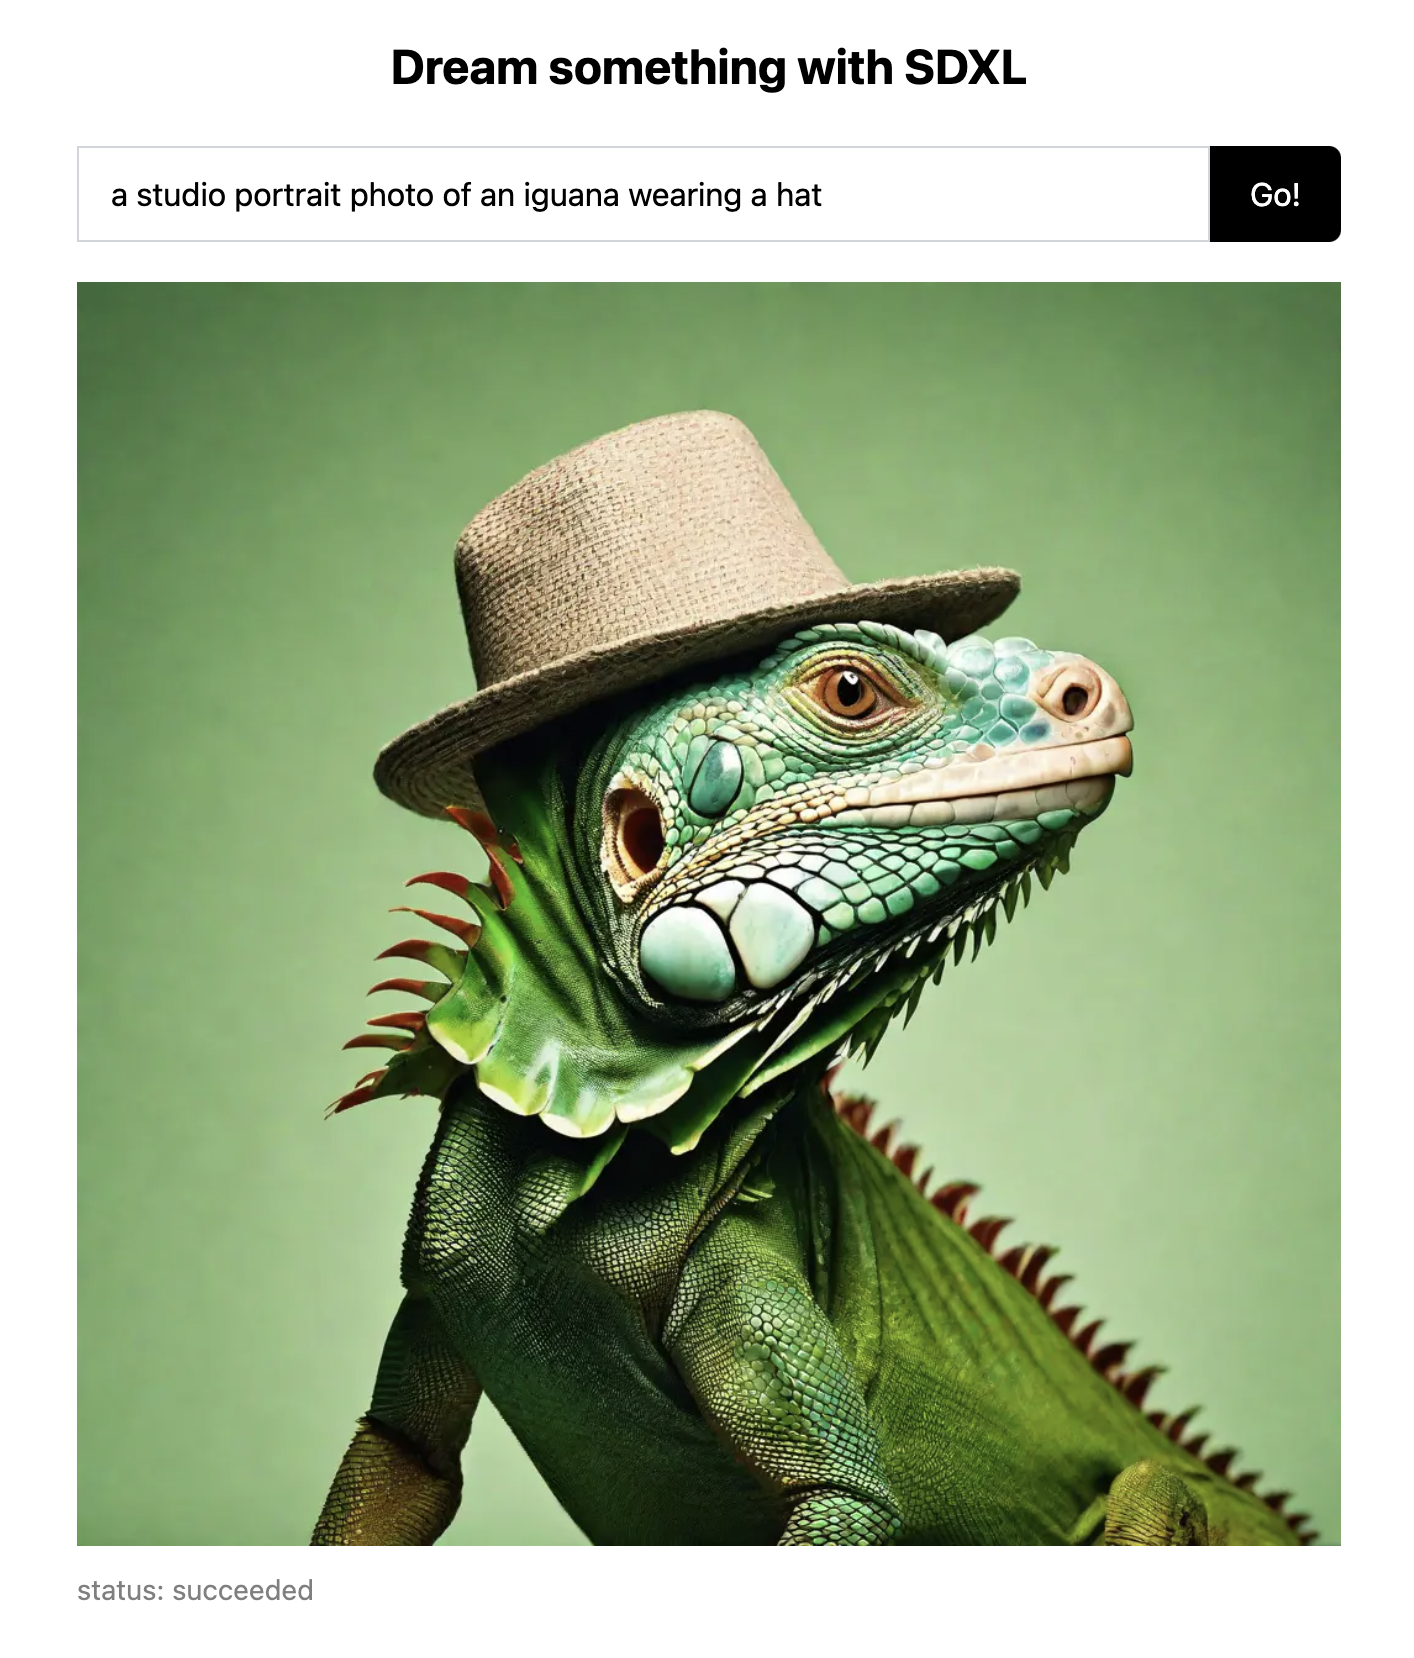
Your app should be ready to use now! Visit [localhost:3000](http://localhost:3000) and enter a prompt to see the results.
[](#step-9-publish-to-github)Step 9: Publish to GitHub
------------------------------------------------------
Now that your app is working, it’s time to publish it to a GitHub repository. This step is not strictly necessary, but it’s a good idea to keep your code in a version control system like Git. This will also set you up nicely to use Vercel’s GitHub integration, which deploys your app automatically every time you push a new commit to the main branch on GitHub.
First, commit your changes to Git:
```shell
git add pages/api/predictions/
git commit -am "First working version! "
```
Then create a new GitHub repository and push your code to it. You can use whatever flow you like, but here we’ll go with the following command that uses GitHub’s official [`gh` CLI](https://cli.github.com/) to create a new public repo named `my-replicate-app` and push your code to it:
```shell
gh repo create my-replicate-app --public --push --source=.
```
If you’d rather keep your repository private, set the `--private` flag instead of `--public`.
[](#step-10-deploy-to-vercel)Step 10: Deploy to Vercel
------------------------------------------------------
There are many ways to deploy apps to Vercel, but for the sake of brevity, we’ll use the `vercel` CLI here. Start by installing the CLI and running it:
```shell
npx vercel
```
The command above installs the CLI, then walks you through the process of logging in to Vercel, creating the app, and deploying it.
Once you’ve deployed your app, you need to add your API token to the remote app’s environment variables. This allows your app to make requests to Replicate.
```shell
npx vercel env add REPLICATE_API_TOKEN
```
The command above prompts you to enter a value for your token. Paste the same token you used in Step 3. You then need to deploy again:
```shell
npx vercel deploy --prod
```
[](#next-steps)Next steps
-------------------------
You did it! You should now have a working web app that’s powered by machine learning.
But this is just the start. Here are some ideas for what you can do next:
Show your friends what you’ve built.
Update your app to request and receive webhooks so you can do things like store your prediction metadata in a database. See the [webhooks docs in the getting-started-nextjs repo](https://github.com/replicate/getting-started-nextjs?tab=readme-ov-file#webhooks).
Fine-tune and deploy [your own custom Flux Schnell image generation model](https://replicate.com/docs/get-started/fine-tune-with-flux) and use your new website to show it off.
Integrate a [super resolution model](https://replicate.com/collections/super-resolution) into your new app to upscale the generated images to a higher resolution.
[Explore other models on Replicate](https://replicate.com/explore) and integrate them into your app.
️ Update the README if you’re planning to open-source your project so others know how to use it and contribute.
⚡️ [Connect your Vercel app to your GitHub repo](https://vercel.com/docs/concepts/git/vercel-for-github), so you’ll get preview deployments for every pull request, and your app will automatically deploy every time you push to the main branch.